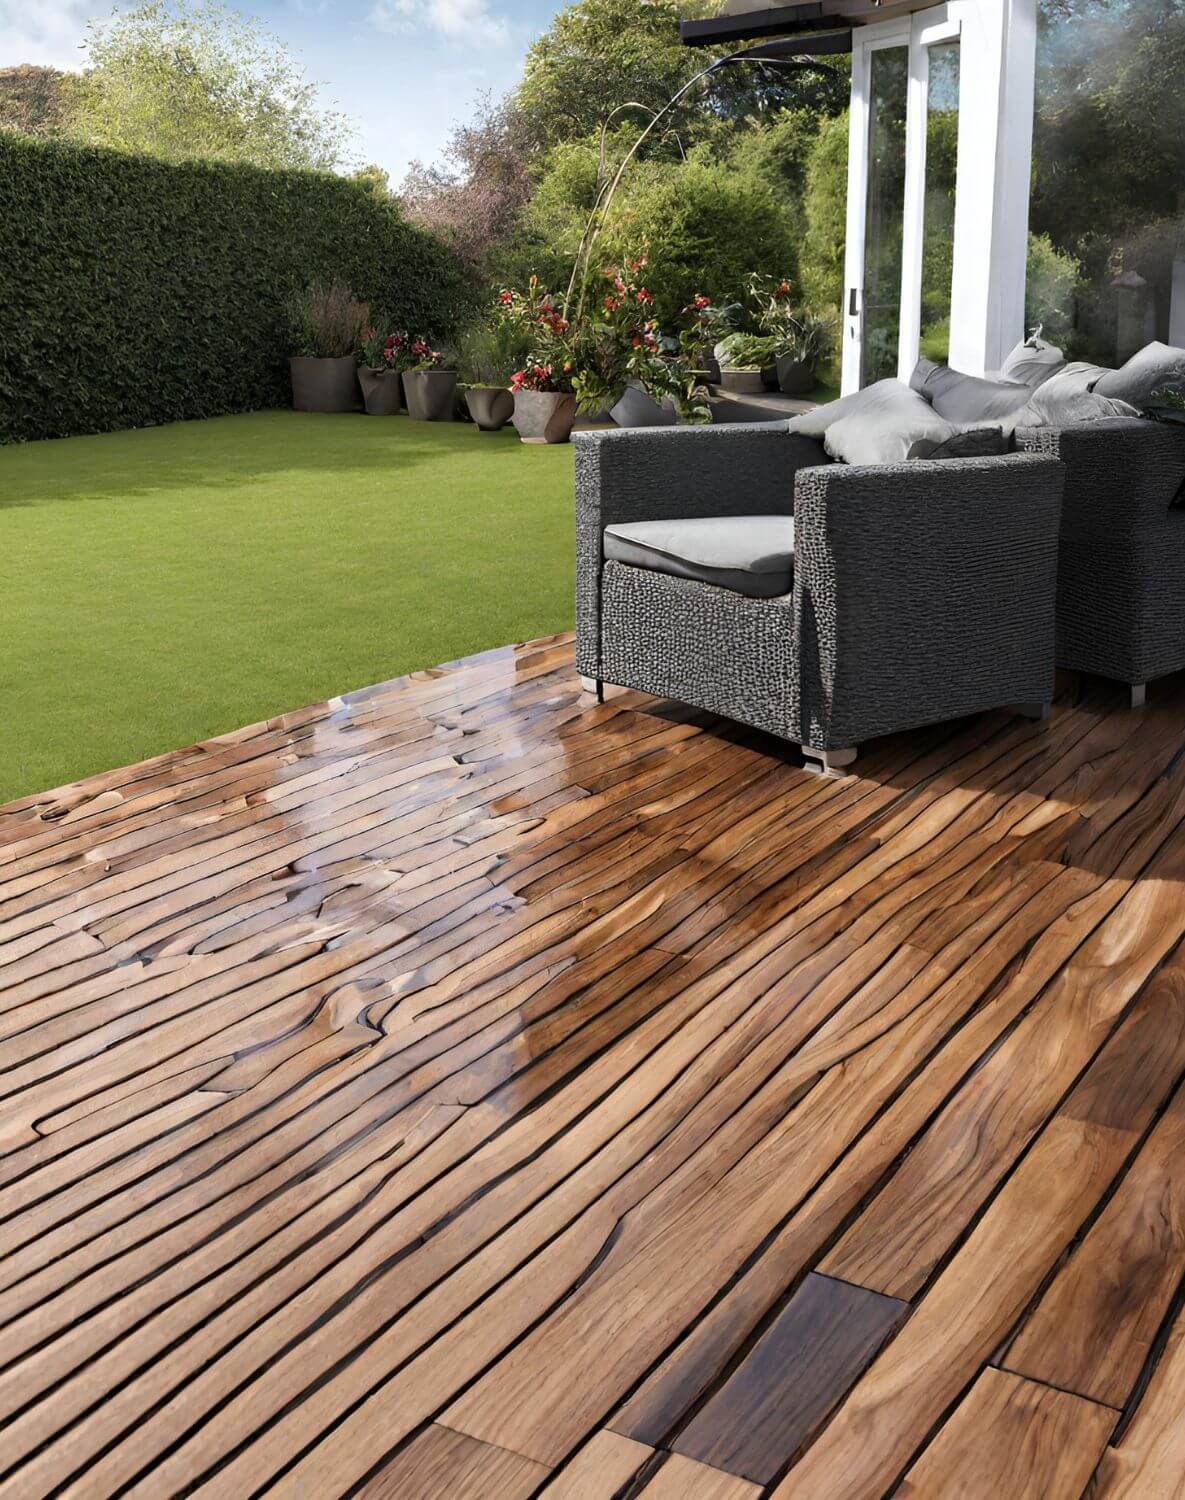
If you’re looking to revitalize your deck and restore its natural beauty, you might be wondering how to effectively clean and brighten it. A clean and bright deck not only enhances the overall aesthetics of your outdoor space but also extends its lifespan. Luckily, there are a few simple steps you can take to achieve this. From removing dirt and debris to using the right cleaning solutions, this article will guide you through the process of rejuvenating your deck, ensuring that it becomes a welcoming space for relaxation and outdoor gatherings.

1. Why Clean and Brighten Your Deck?
1.1. Importance of deck maintenance
Maintaining your deck is essential in order to keep it looking beautiful and extend its lifespan. Over time, decks accumulate dirt, grime, mold, mildew, and even stubborn stains. If not properly cleaned, these can cause damage to the wood, leading to rot, splintering, or warping. Regular cleaning and brightening not only enhance the appearance of your deck but also ensure it remains safe and structurally sound.
1.2. Benefits of cleaning and brightening a deck
Cleaning and brightening your deck offers several benefits. Firstly, it helps to remove dirt, dust, and debris that accumulate on the surface, making it look clean and refreshed. Additionally, by removing mold, mildew, and algae, you can prevent these from spreading and causing damage to the wood. Brightening the deck further enhances its appearance by bringing out the natural wood grain and color. By regularly cleaning and brightening your deck, you can maintain its beauty, prolong its life, and make it a more enjoyable space for relaxation and entertainment.
2. Preparation for Cleaning and Brightening
2.1. Gather necessary supplies
Before you begin the cleaning and brightening process, gather all the necessary supplies. This includes a broom or brush, a pressure washer or garden hose with a spray nozzle, a cleaning solution suitable for your deck’s material, a brightening product, protective clothing, gloves, safety goggles, and a brush or roller for applying the solutions.
2.2. Clear the deck
Remove any furniture, plants, or other items from the deck to ensure a clear surface for cleaning. Store these items in a safe location away from the deck until the cleaning and brightening process is complete.
2.3. Protect surrounding areas
Take precautions to protect any nearby plants, shrubs, or surfaces that may be affected by the cleaning solutions. Use plastic sheeting or tarps to cover plants and prevent direct contact with the cleaning agents. It’s also a good idea to wet surrounding plants and vegetation with water before and after applying the cleaning solutions to minimize any potential damage.
3. Cleaning the Deck
3.1. Sweep the deck
Start by sweeping the deck thoroughly to remove loose dirt, leaves, and debris. Pay attention to the corners and crevices where dirt tends to accumulate.
3.2. Remove debris and stains
Inspect the surface of the deck for any remaining debris, such as stuck leaves or twigs. Use a putty knife or similar tool to gently scrape away any stubborn debris. If there are any stains on the deck, such as oil or rust stains, apply an appropriate stain remover and follow the manufacturer’s instructions for removal.
3.3. Choose a cleaning solution
Select a cleaning solution specifically formulated for your deck’s material. Different types of wood or composite decking may require different cleaners. It’s important to choose a product that is safe, effective, and compatible with your deck. Read the product label carefully for instructions and dilution ratios.
3.4. Apply the cleaning solution
Prepare the cleaning solution according to the instructions provided. Use a pump sprayer or a watering can to evenly distribute the solution on the deck surface. Ensure thorough coverage, especially in heavily soiled areas or areas with stains. Allow the cleaning solution to sit and penetrate the wood for the recommended amount of time, typically around 10-15 minutes.
3.5. Scrub the deck
After the cleaning solution has had time to work, use a stiff-bristle brush or a deck scrubber to scrub the surface of the deck. Focus on heavily soiled areas or stained spots. Scrub in the direction of the wood grain to avoid damaging the surface. Put some elbow grease into it, but be careful not to apply excessive pressure that could cause splintering or other damage.
3.6. Rinse off the cleaning solution
Once you have thoroughly scrubbed the deck, rinse off the cleaning solution using a pressure washer or a garden hose with a strong spray nozzle. Start from one end of the deck and work your way to the other, ensuring you remove all traces of the cleaning solution. Pay attention to the corners and edges of the deck, as well as any hidden or hard-to-reach areas. Proper rinsing is crucial to prevent any residue that could affect the brightening process or harm the wood.
4. Brightening the Deck
4.1. Importance of deck brightening
Brightening your deck goes beyond regular cleaning. It specifically targets the discoloration and fading that naturally occurs over time due to exposure to sunlight and the elements. By using a brightening product, you can restore the deck’s natural color and vibrancy, giving it a fresh and rejuvenated look.
4.2. Choose a brightening product
Just like with cleaning solutions, it’s important to choose a brightening product that is suitable for your deck’s material. Look for a product that is specifically designed to brighten wood or composite decking. Consider factors such as environmental friendliness, ease of use, and the manufacturer’s recommendations.
4.3. Apply the brightening product
Following the instructions provided by the manufacturer, apply the brightening product evenly to the deck surface. Use a brush or roller to ensure thorough coverage, paying extra attention to any areas that appear dull or discolored. Avoid thick or uneven application to prevent pooling, streaks, or other undesirable results.
4.4. Let it sit on the deck
Allow the brightening product to sit on the deck for the recommended amount of time, typically around 15-20 minutes. This allows the product to penetrate the wood and work its magic. During this time, avoid walking on the deck to prevent footprints or marks.
4.5. Rinse off the brightening product
After the brightening product has had time to work, rinse off the deck surface thoroughly using a pressure washer or a garden hose with a strong spray nozzle. Take care to remove all traces of the brightening product, ensuring a clean and vibrant result. Pay attention to the corners, edges, and hidden areas once again to ensure complete coverage.

5. Dealing with Stubborn Stains
5.1. Identifying stubborn stains
Despite thorough cleaning and brightening, some stains may still persist on your deck. Identifying these stubborn stains is the first step to effectively treating them. Common examples include grease or oil stains, rust stains, pet stains, or deep-seated discoloration.
5.2. Using specialized cleaners or treatments
For stubborn stains, it may be necessary to use specialized cleaners or treatments that target the specific stain. Look for products specifically designed to tackle the type of stain you are dealing with. Follow the instructions carefully, applying the cleaner to the affected area and giving it time to work. Use a brush or sponge to gently scrub the stain, being cautious not to damage the wood.
5.3. Scrubbing or sanding the affected areas
If specialized cleaners do not fully remove the stubborn stains, you may need to resort to more aggressive measures. Gently scrub the affected area with a soft-bristle brush, applying light pressure. Alternatively, for deeper stains or discoloration, you may need to sand the affected area lightly. Take care to sand in the direction of the wood grain and evenly blend the sanded spot with the rest of the deck.
6. Performing Deck Repairs
6.1. Inspecting the deck
As part of your deck maintenance routine, it’s important to regularly inspect the deck for any signs of damage or wear. Look for loose or damaged boards, splinters, cracks, or signs of rot. Identifying and addressing these issues early on can prevent further damage and ensure the structural integrity of your deck.
6.2. Fixing loose or damaged boards
If you come across any loose or damaged boards, secure them back in place using deck screws or nails. Replace any damaged fasteners with new ones if necessary. Reinforce loose boards with additional screws or braces to ensure stability. Make sure to use screws or nails that are specifically designed for outdoor use and are resistant to rust and corrosion.
6.3. Replacing rotten or irreparable boards
In cases where boards are rotten or irreparable, it’s necessary to replace them. Use a pry bar or a similar tool to carefully remove the damaged board. Measure and cut a replacement board to the appropriate size, ensuring it fits snugly. Attach the replacement board using appropriate screws or nails, following the same pattern as the other boards for consistency.
6.4. Repairing or replacing railings
Inspect the deck’s railings for any loose or damaged components. Tighten any loose screws or replace damaged ones to ensure stability. If a railing section is beyond repair, it may be necessary to replace it entirely. Use the appropriate tools and materials to remove the damaged section and install a new railing that matches the existing design.
7. Applying a Protective Finish
7.1. Importance of a protective finish
After cleaning, brightening, and making necessary repairs, applying a protective finish is crucial to ensure the longevity and beauty of your deck. A protective finish acts as a barrier against moisture, UV rays, and other damaging elements, extending the life of the wood and minimizing the need for frequent maintenance.
7.2. Choosing the right finish
Select a protective deck finish that is suitable for your deck’s material and desired level of protection. There are various options available, including clear finishes, semi-transparent stains, and solid stains. Consider factors such as durability, resistance to UV rays, ease of application, and the desired aesthetic appeal. Read the manufacturer’s instructions for proper application and drying times.
7.3. Applying the finish
Using a brush, roller, or sprayer, apply the protective finish evenly to the clean and dry deck surface. Start from one end and work your way to the other, ensuring thorough coverage and avoiding excessive buildup or pooling. Pay attention to the edges, corners, and spaces between boards. Allow the finish to dry completely before allowing foot traffic or replacing any furniture or decorations on the deck.
8. Regular Deck Maintenance
8.1. Cleaning frequency
To maintain the cleanliness and appearance of your deck, it’s recommended to clean it at least once a year. However, the frequency of cleaning may depend on factors such as the deck’s exposure to elements, foot traffic, and the presence of nearby trees or vegetation. Regularly inspect your deck for signs of dirt buildup, stains, or discoloration, and clean it as needed.
8.2. Inspecting for damage
Perform regular inspections of your deck to identify any signs of damage or wear. Look for loose boards, protruding nails or screws, cracks, or any other issues that may compromise the safety or aesthetics of the deck. Promptly address any repairs to prevent further damage and to ensure the structural integrity of the deck.
8.3. Reapplying protective finish
Over time, the protective finish on your deck will wear off due to exposure to the elements and foot traffic. Reapplying a new layer of protective finish can help maintain the deck’s appearance and provide ongoing protection against moisture and UV damage. Follow the manufacturer’s recommendations for reapplication intervals, typically every 1-3 years.
8.4. Preventive measures
To minimize dirt buildup and staining on your deck, take preventive measures. Use outdoor rugs or mats near entrances to catch dirt and debris before they reach the deck. Promptly clean up any spills or stains to prevent them from penetrating the wood. Regularly sweep or use a leaf blower to remove leaves, debris, or other organic matter that can contribute to mold or mildew growth.
9. Safety Precautions
9.1. Wearing appropriate protective gear
When cleaning and brightening your deck, it’s important to prioritize safety. Wear appropriate protective gear, such as gloves, safety goggles, and clothing that covers your skin. This protects you from potential contact with cleaning solutions, stains, splinters, or other hazardous substances.
9.2. Avoiding harmful chemicals
Choose cleaning and brightening products that are safe for both your deck and the environment. Avoid using harsh chemicals or bleach, as these can damage the wood and surrounding plants. Opt for environmentally friendly options or homemade cleaning solutions using mild soap and water.
9.3. Using correct techniques
Follow proper techniques and guidelines when cleaning and brightening your deck. Use a soft-bristle brush or deck scrubber instead of abrasive materials that can damage the wood. When rinsing off the cleaning and brightening solutions, direct the spray in a downward motion to protect surrounding areas and prevent the cleaning agents from splashing onto your skin or eyes.
9.4. Being cautious on wet or slippery surfaces
During the cleaning and brightening process, the deck surface may become wet and slippery. Take precautions to avoid slips, falls, or accidents. Walk carefully and deliberately, wearing appropriate footwear that provides traction. Wait for the deck to completely dry before resuming normal use.
9.5. Store and dispose of cleaning agents properly
After completing the cleaning and brightening process, properly store any leftover cleaning or brightening agents in their original containers. Keep them out of reach of children and pets in a cool, dry place. Dispose of any empty containers or unused products according to local regulations and guidelines.
By following these steps and giving your deck the care it deserves, you can keep it clean, bright, and beautiful for years to come. Regular maintenance, cleaning, and brightening will not only enhance the appearance of your deck but also ensure its durability, safety, and enjoyment for all who use it. So roll up your sleeves, grab your supplies, and give your deck the attention it deserves. You won’t be disappointed with the results!


