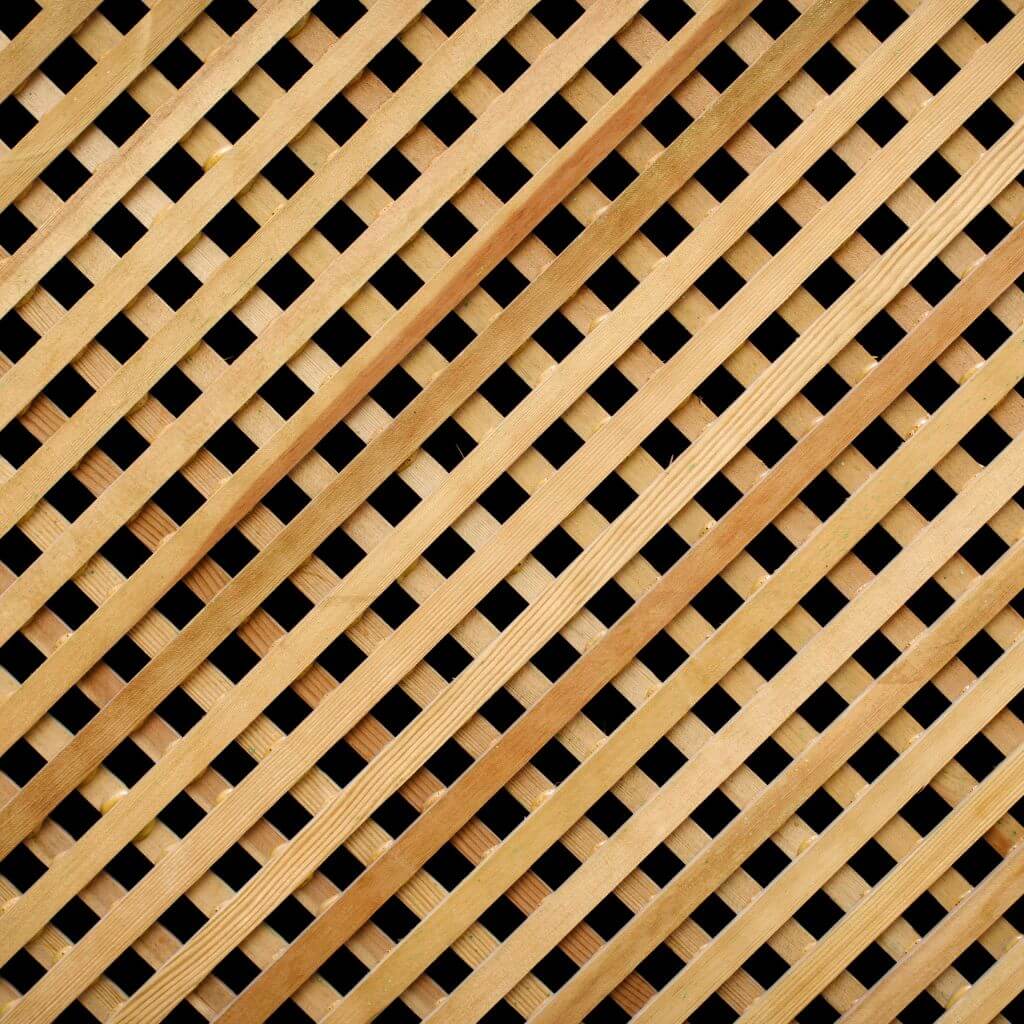
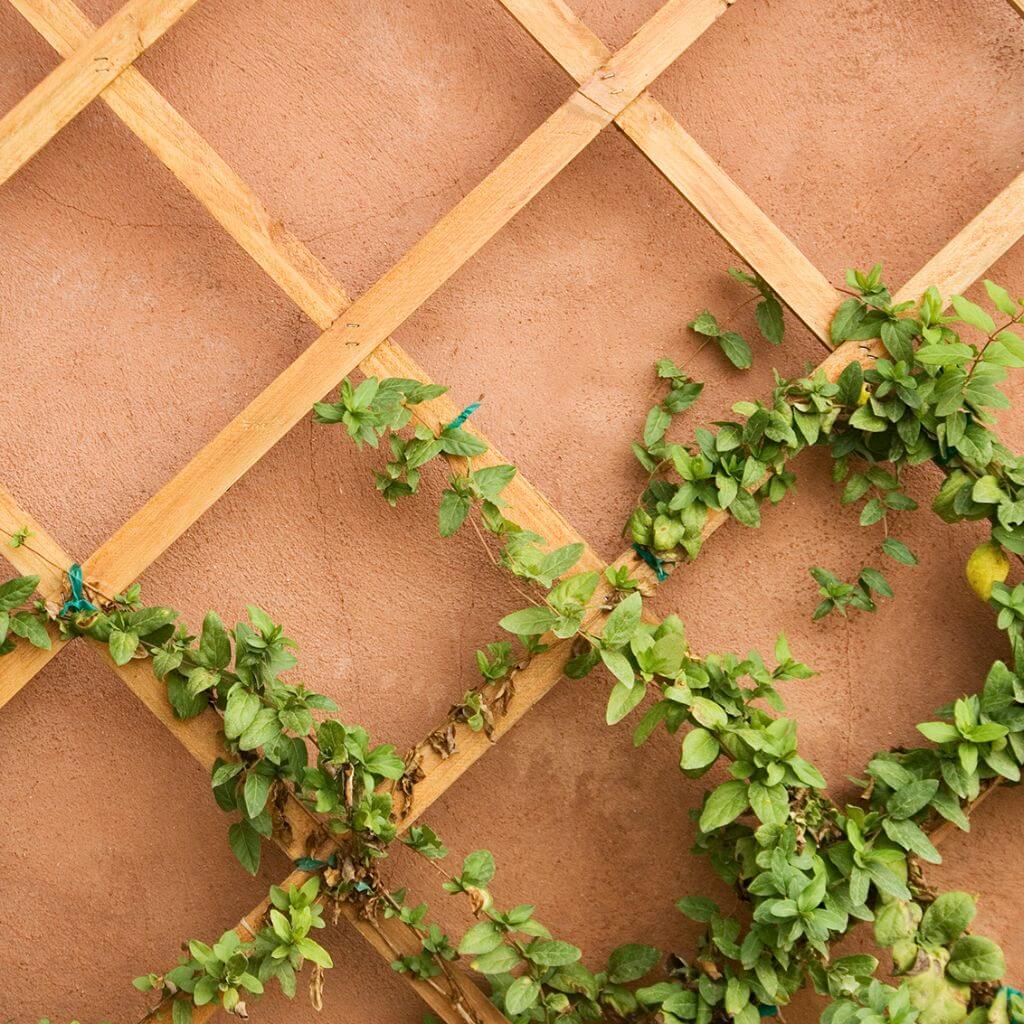
If you’ve been dreaming of adding some charm and character to your outdoor space, look no further! In this handy guide, we’ll walk you through the step-by-step process of fixing trellis to a fence with concrete posts. With just a few simple tools and a little bit of elbow grease, you’ll soon have a beautiful trellis that not only enhances your garden’s aesthetic appeal but also provides a support system for your climbing plants. So grab your tool belt and get ready to transform your fence into a stunning feature that will have your neighbors green with envy!
Preparing the Materials
Gathering the necessary materials
Before starting the process of fixing trellis to a fence with concrete posts, it is important to gather all the necessary materials. You will need a trellis that is suitable for your specific needs and preferences, concrete posts, screws or nails to secure the trellis, wood preservative or paint, and the appropriate tools such as a post hole digger or auger, level, and measuring tape.
Checking the condition of the fence and posts
Once you have gathered all the materials, it is essential to assess the condition of the fence and posts. Inspect the fence for any damage, such as rotting wood or loose boards, and make any necessary repairs before proceeding. Similarly, examine the concrete posts to ensure they are in good condition and free from cracks or other structural problems.
Choosing the right trellis
The choice of trellis is crucial for the success of your project. Consider the purpose of the trellis, whether it is for privacy, supporting plants, or simply adding aesthetic appeal. Additionally, select a trellis that matches the style of your fence and overall landscape design. Take measurements of the area where the trellis will be installed to ensure you choose the appropriate size.
Preparing the Tools
Ensuring you have the right tools
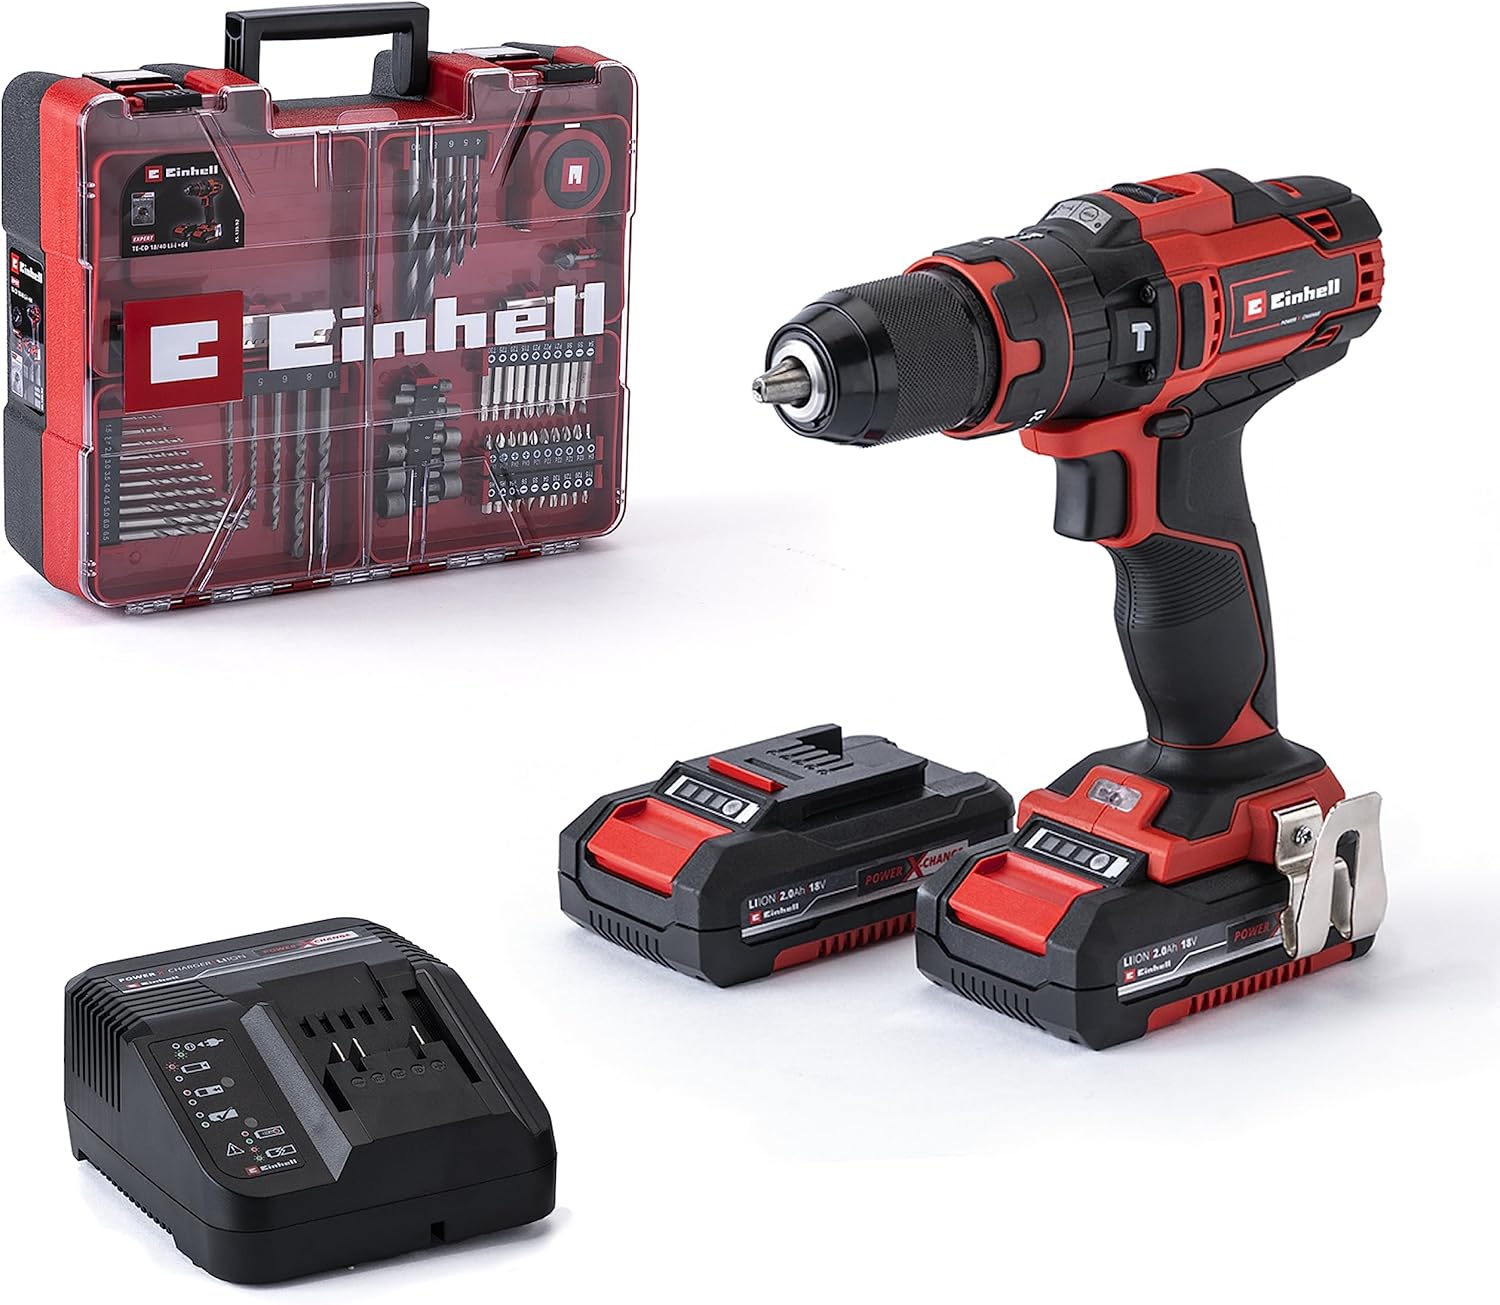
Having the right tools is essential for a smooth and successful installation of the trellis. Ensure that you have all the necessary tools, such as a post hole digger or auger for digging the holes, a level for ensuring accuracy, and a tape measure for taking measurements. Additionally, have screws or nails to secure the trellis, a saw for cutting the trellis to size if needed, and appropriate safety gear such as gloves and safety goggles.
Checking the condition of the tools
Before starting the installation process, it is important to check the condition of your tools. Ensure that the blades of your saw are sharp and in good working condition. Inspect the handles of your tools for any signs of wear or damage, as this can affect their usability and your safety. If any tools are damaged or in poor condition, it is advisable to replace them to ensure both efficiency and safety.
Basic safety precautions
When working with tools and materials, it is crucial to prioritize safety. Ensure that you wear appropriate safety gear, such as gloves and safety goggles, to protect yourself from any potential harm. Follow any instructions or warnings provided by the manufacturers of the tools and materials. Additionally, be mindful of your surroundings and avoid working in unfavorable weather conditions, such as strong winds or heavy rain.
Clearing the Area
Removing any obstructions
Before starting the installation process, it is important to clear the area of any obstructions. Remove any debris, such as branches or rocks, that may hinder the installation process. Additionally, relocate any furniture or plants that are in the way to ensure easy access to the fence and posts.
Cleaning the fence and posts
To ensure a secure and long-lasting installation, it is important to clean the fence and posts. Use a stiff brush or power washer to remove any dirt, grime, or loose paint from the surface of the fence and posts. This will create a clean and smooth surface for attaching the trellis and improve the overall aesthetic appeal of the installation.
Clearing vegetation around the area
Vegetation around the installation area can potentially interfere with the trellis’s stability and compromise its effectiveness. Clear any vegetation, such as weeds or vines, from the ground surrounding the fence and posts. This will not only create a more visually appealing environment but also minimize the risk of vegetation causing damage to the trellis or interfering with its growth.
Measuring and Marking | Fixing Trellis
Measuring the height and width of the trellis
Accurate measurements are crucial for ensuring a proper and aesthetically pleasing installation. Measure the height and width of the trellis, taking into account any additional components or decorative features that may affect the overall dimensions. It is important to measure multiple points along the trellis to ensure consistency and accuracy.
Marking the position on the fence and posts
Once you have measured the dimensions of the trellis, mark the position on both the fence and posts. Use a pencil or marker to create visible reference points that will guide you during the installation process. Take care to ensure that the markings are aligned and level to achieve a professional-looking result.
Ensuring even spacing
To achieve a balanced and visually pleasing installation, it is important to ensure even spacing between the trellis and the fence posts. Measure and mark equal distances between each post and adjust the trellis accordingly. This will result in a symmetrical and aesthetically pleasing design.
Preparing the Trellis
Cutting the trellis to size
If the trellis is not the exact size you need, it may be necessary to cut it to fit properly. Use a saw suitable for the specific material of your trellis and carefully cut it according to the measurements taken earlier. Take your time and double-check the measurements to ensure accurate and precise cuts.
Applying wood preservative or paint
To protect the trellis from weathering and extend its lifespan, apply a wood preservative or paint before attaching it to the fence. This will help prevent rotting or deterioration, especially for trellises made of wood. Follow the instructions provided by the manufacturer of the preservative or paint and apply it evenly and thoroughly to all surfaces of the trellis.
Attaching any additional components
Depending on the design or purpose of your trellis, you may need to attach additional components before installation. This could include decorative elements, such as finials or caps, or functional components like hooks for hanging plants. Ensure that these additional components are securely attached to the trellis before proceeding with the installation process.
Digging the Post Holes
Determining the hole depth and width
The depth and width of the post holes will depend on the specific requirements of your fence and the type of soil in your area. As a general guideline, the depth of the hole should be at least one-third of the length of the post, with an additional 6 inches for added stability. The width of the hole should be slightly larger than the diameter of the post to allow for the inclusion of concrete.
Using a post hole digger or auger
To dig the post holes efficiently and with minimal effort, use a post hole digger or auger. These tools are specifically designed to create the necessary holes for fence posts. Insert the digger or auger into the ground and apply downward pressure while turning it clockwise. Continue digging until the hole reaches the desired depth.
Clearing any debris from the holes
After digging the post holes, it is important to clear any debris, such as loose soil or rocks, from the holes. Use a shovel or your hands to remove any obstructions that may prevent the posts from being securely seated in the holes. A clean and well-prepared hole will ensure a stable and durable installation.
Setting the Posts
Mixing and pouring concrete into the holes
Once the post holes are ready, it is time to mix and pour the concrete. Follow the instructions provided by the manufacturer of the concrete mix to ensure the correct proportions and consistency. Pour the concrete into the holes, filling them to ground level. Use a stick or rod to remove any air bubbles and ensure that the concrete is evenly distributed within the holes.
Aligning the posts vertically and horizontally
Before the concrete sets, align the posts vertically and horizontally. Use a level to ensure that the posts are perfectly vertical, adjusting them as necessary. Additionally, use a tape measure or level to ensure that the distance between each post is consistent. This will result in a professional-looking installation and ensure the proper alignment of the trellis.
Using a level to ensure accuracy
Throughout the post-setting process, use a level to ensure accuracy. Double-check that the posts are perfectly vertical and adjust them if needed. A level will help you achieve a straight and visually pleasing installation, which is essential for a well-built and sturdy trellis.
Attaching the Trellis
Positioning the trellis against the fence
Once the posts are securely set in the concrete, position the trellis against the fence, aligning it with the markings made during the measuring and marking process. Ensure that the trellis is centered and level between the posts. Take your time to adjust the position until you are satisfied with the placement.
Using screws or nails to secure the trellis
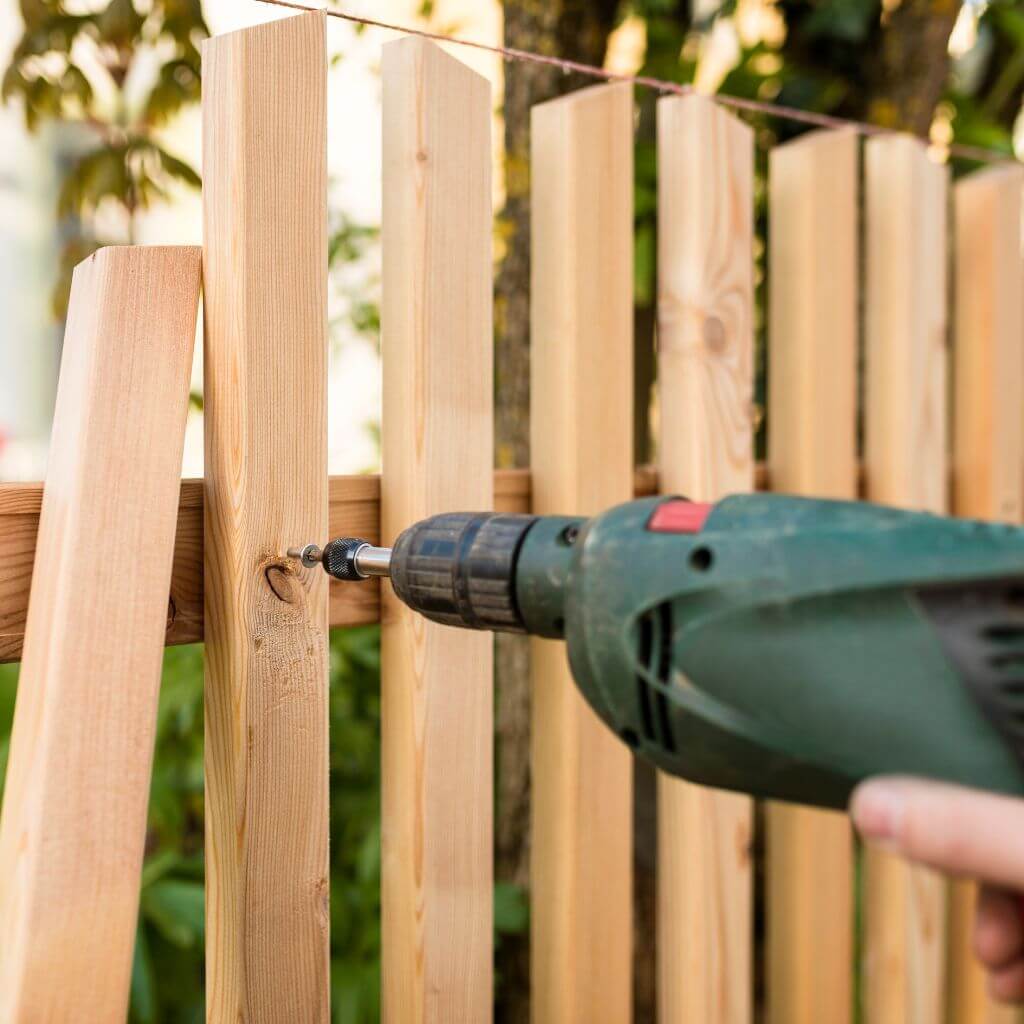
To attach the trellis to the fence and posts, use screws or nails. Choose the appropriate type and size of fasteners for your specific trellis and ensure that they are long enough to securely hold the trellis in place. Begin by attaching the trellis to the posts, inserting the screws or nails through the trellis and into the posts, ensuring a tight and secure connection. Then, attach the trellis to the fence in the same manner, making sure to evenly space the fasteners.
Checking for stability and reinforcement
Once the trellis is attached, check for stability and reinforce any weak areas if necessary. Gently shake the trellis to test its stability, ensuring that it is securely attached to the fence and posts. If any areas feel loose or unstable, add additional screws or nails to reinforce the connection. Taking the time to ensure a sturdy installation will prevent any future issues and prolong the lifespan of your trellis.
Finalizing the Installation
Trimming any excess trellis or post length
After the trellis is securely attached, trim any excess trellis or post length if needed. Use a saw suitable for the specific material of your trellis and carefully cut off any protruding sections. Take care not to damage the trellis or fence during this process, and ensure that the final result is neat and aesthetically pleasing.
Inspecting for any loose or weak connections
Before considering the installation complete, inspect the entire trellis for any loose or weak connections. Carefully check each screw or nail to ensure they are securely fastened and tighten any that might be loose. Gently apply pressure to different parts of the trellis to verify its stability and make any necessary adjustments or reinforcements. A thorough inspection will save you from potential issues down the line and ensure a long-lasting installation.
Applying a protective finish to the trellis
To further protect the trellis from weathering and enhance its overall appearance, consider applying a protective finish. This could include a clear varnish to preserve the natural beauty of wooden trellises or a paint or stain for added color and protection. Follow the manufacturer’s instructions for the chosen finish and apply it evenly and thoroughly to all surfaces of the trellis.
Maintenance and Care
Regularly inspecting and repairing any damage
To extend the lifespan of your trellis and ensure its continued functionality, it is important to regularly inspect it for any signs of damage. Check for loose screws or nails, cracks in the trellis material, or any areas that may require reinforcement. If any issues are detected, repair them promptly to prevent further damage and maintain the trellis’s structural integrity.
Cleaning the trellis and posts
To keep the trellis looking its best, it is important to periodically clean it. Remove any dirt, dust, or debris from the surface of the trellis using a soft brush or cloth. Additionally, clean the posts to remove any accumulated dirt or grime. Regular cleaning will not only enhance the trellis’s appearance but also prevent the buildup of harmful substances that could potentially damage the trellis over time.
Applying wood preservative or paint periodically
If your trellis is made of wood, periodically apply wood preservative or paint to protect it from the elements. This will help prevent rotting, warping, or deterioration caused by exposure to moisture, UV rays, and other environmental factors. Follow the manufacturer’s recommendations regarding the frequency of application and make sure to thoroughly cover all surfaces of the trellis for maximum protection.
Following this step-by-step guide to fixing trellis to a fence with concrete posts will ensure a successful installation that is not only aesthetically pleasing but also structurally sound. Remember to gather all the necessary materials, prepare your tools, clear the area, measure and mark accurately, and follow best practices for attaching and setting the posts. Regular maintenance and care will guarantee that your trellis remains in excellent condition for years to come. Happy trellis installation!


