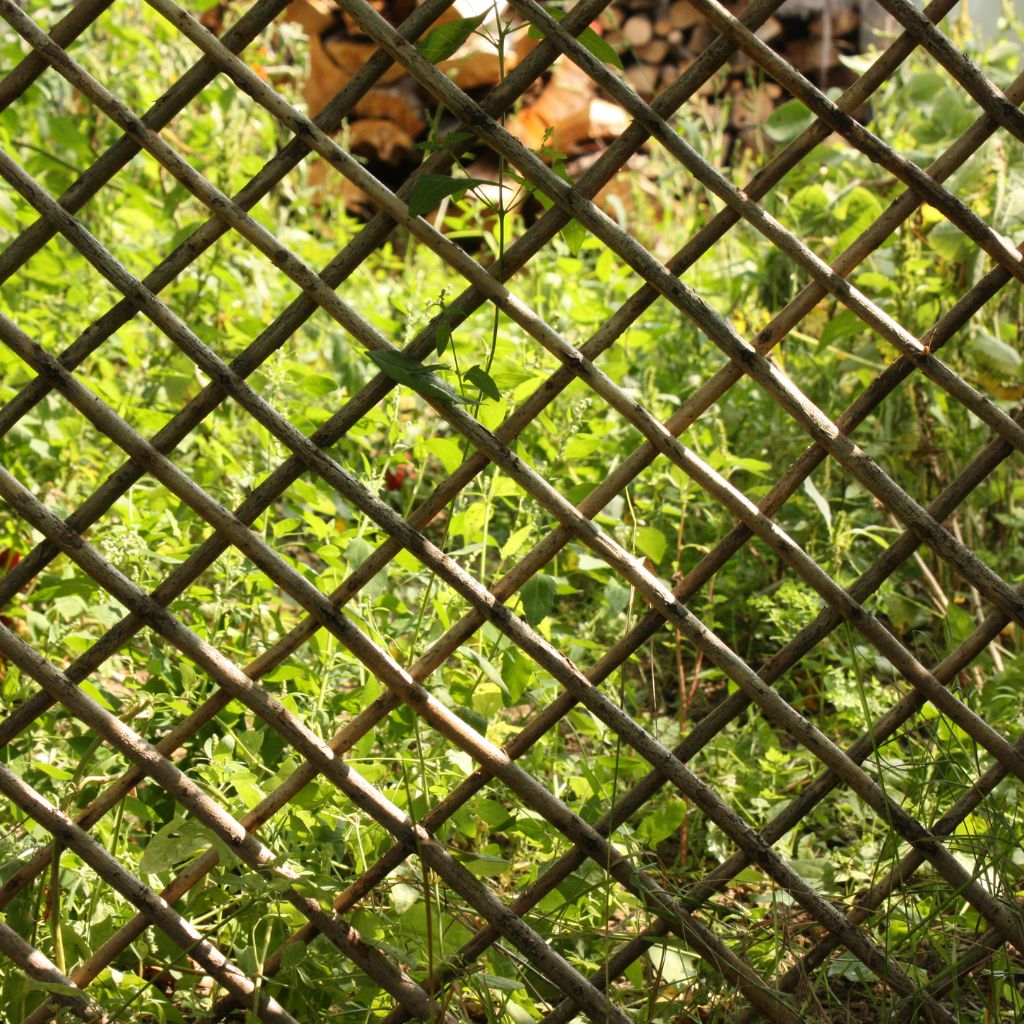
In this article, you will discover a straightforward and hassle free steps for attaching trellis to an existing fence. Whether you’re looking to add privacy or create a stunning backdrop for your garden, these easy steps will guide you through the process with ease. By the end, you’ll have a beautifully enhanced fence that will leave your neighbors green with envy. So grab your tools, roll up your sleeves, and let’s get started on transforming your fence into a stylish and functional masterpiece.
Types of Trellis Attachments
When it comes to steps for attaching trellis to an existing fence, there are several types of attachments you can choose from. Each type has its own unique advantages, so it’s important to consider which one will work best for your specific situation. Here are some common types of trellis attachments to help you make an informed decision:

Wire Ties | Steps for Attaching Trellis
Wire ties are a popular choice for attaching trellises to fences because they are simple and efficient. These ties consist of a flexible wire that can be easily wrapped around the trellis and fence, providing a secure attachment. Wire ties are versatile and come in various lengths, making them suitable for different trellis sizes.
U-shaped Fence Clips
U-shaped fence clips are another great option for attaching a trellis to an existing fence. These clips are typically made of metal and have a U-shaped design that allows them to slide over the trellis wires and fence. Once in place, the clips provide a strong hold, keeping the trellis securely attached.
Lattice Strips
If you’re looking for a more visually appealing attachment method, lattice strips might be the way to go. These strips are typically made of wood or plastic and can be attached to the fence using screws or nails. Lattice strips not only provide a sturdy attachment point but also add a decorative element to your trellis.
Zip Ties
Zip ties offer a quick and convenient way to attach a trellis to an existing fence. These ties are made of a strong, flexible plastic material and can be easily looped around the trellis and fence. Once tightened, zip ties provide a secure and durable attachment.
Now that you’re aware of the different types of trellis attachments available, let’s move on to the steps for attaching trellis to an existing fence.
Gather Necessary Tools
Before you begin the steps for attaching your trellis to the fence, it’s important to gather all the necessary tools. Having the right tools on hand will make the process much smoother and ensure that you can complete the job efficiently. Here are the tools you’ll need:
Tape Measure
A tape measure is essential for accurately measuring the height of your trellis and marking the attachment points on the fence. Make sure to use a reliable tape measure to ensure precise measurements.
Marker or Chalk
A marker or chalk will be used to mark the spots on the fence where the trellis will be attached. These markings will serve as a guide during the attachment process.
Drill with Screwdriver Bit
If you’re planning to use lattice strips or any other attachment method that requires screws or nails, a drill with a screwdriver bit will be necessary. This tool will make it easier to insert the screws or nails into the fence when following the steps for attaching trellis.
Wire Cutters
Wire cutters are essential if you’re using wire ties or U-shaped fence clips for attaching your trellis. These cutters will be used to trim any excess wire and ensure a clean, secure attachment.
Pliers
Pliers are another helpful tool to have on hand, especially if you encounter any tight spots or need to make minor adjustments during the attachment process. They can also come in handy for bending or straightening wires if needed.
With all the necessary tools ready, you’re now prepared to begin attaching your trellis to the existing fence.
Measure and Mark the Location
Before attaching your trellis, it’s important to measure the desired height and mark the attachment points on the fence. This step ensures that your trellis will be properly positioned and aligned. Here’s how to go about it:

Measure the desired height of the trellis
Using your tape measure, determine the desired height for your trellis. This measurement will vary depending on your specific needs and preferences. Once you have the height measurement, make a note of it for reference and follow the remaining steps for attaching trellis.
Mark the spots on the fence where the trellis will be attached
Using your marker or chalk, mark the spots on the fence where the trellis will be attached. These marks will serve as a guide when you position the trellis later on. Ensure that the marks are at the correct height and evenly spaced along the fence for a balanced and visually pleasing result.
With the height measured and the attachment points marked, you’re now ready to prepare your trellis for attachment, the are the final steps for attaching trellis.
Prepare the Trellis
Before attaching your trellis to the fence, it’s essential to prepare it properly. These steps for attaching trellis involves cutting the trellis to the desired size and smoothing any rough edges. Here’s what you need to do:
Cut the trellis to the desired size
Using a saw or appropriate cutting tool in the steps for attaching trellis , trim the trellis to the desired size. If you purchased a pre-made trellis, this step may not be necessary. However, if you need to adjust the size, take accurate measurements and cut accordingly to ensure a proper fit against the fence.
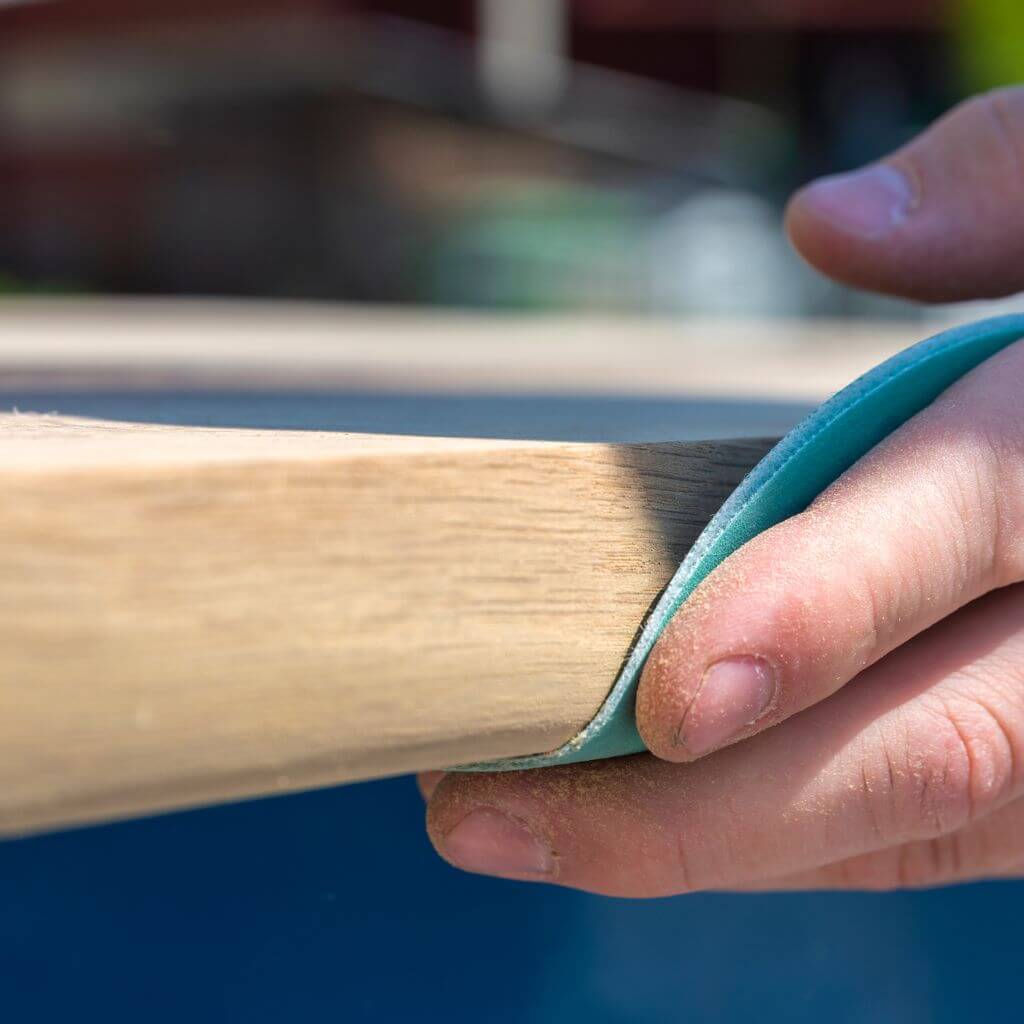
Smooth any rough edges with sandpaper
After cutting the trellis, you may notice rough edges or splinters. To prevent any potential injuries or damage to the fence, use sandpaper to smooth out these rough areas. Simply run the sandpaper along the edges until they are smooth and no longer pose any risks.
With the trellis prepared, it’s time to move on to attaching it to the fence using your chosen attachment method.
Attach Trellis with Wire Ties
Wire ties are an excellent choice for attaching your trellis to an existing fence. Follow these steps to secure the trellis using wire ties.
Position the trellis against the fence
Hold the trellis against the fence at the desired height and alignment. Ensure that it is centered and level before proceeding.
Secure the trellis to the fence using wire ties
Starting at one end, loop a wire tie around the first wire of the trellis and the corresponding section of the fence. Pull the wire tie tight to secure the trellis. Repeat this process every few feet along the length of the trellis, making sure the wires are tightly secured to the fence. Trim any excess wire from the ties using wire cutters.
Attach Trellis with U-shaped Fence Clips
U-shaped fence clips provide a sturdy attachment method for your trellis. Follow these steps to attach the trellis using this method:
Position the trellis against the fence
Place the trellis against the fence, ensuring it is centered and at the desired height. Adjust the position as necessary before moving on to the next step.
Insert U-shaped fence clips over the trellis wires and fence
Starting from one end, insert the U-shaped fence clips over the trellis wires and the corresponding sections of the fence. Slide them down until they are snugly in place. Repeat this process, spacing the clips evenly along the length of the trellis. Ensure that the clips are securely holding the trellis by giving it a gentle tug.
Attach Trellis with Lattice Strips
If you prefer a more decorative attachment method, lattice strips are an excellent choice. Here’s how you can attach your trellis using lattice strips:
Position the lattice strip against the fence
Hold the lattice strip against the fence, ensuring it is centered and at the desired height. Double-check the alignment before proceeding.
Secure the lattice strip to the fence using screws or nails
Using your drill with a screwdriver bit, insert screws or nails through the lattice strip and into the fence. Place them evenly and at appropriate intervals to provide a secure attachment. Ensure that the lattice strip is firmly in place before moving on to the next step.
Attach Trellis with Zip Ties
Zip ties offer an easy and efficient way to attach your trellis to an existing fence. Follow these steps to secure the trellis using zip ties:
Position the trellis against the fence
Hold the trellis against the fence, ensuring it is centered and at the desired height. Make any necessary adjustments to the position before proceeding.
Secure the trellis to the fence by tightly wrapping zip ties around the trellis and fence
Starting at one end, wrap a zip tie tightly around the first wire of the trellis and the corresponding section of the fence. Pull the zip tie tight and fasten it securely. Continue this process every few feet along the length of the trellis, ensuring that the zip ties are snug and the trellis is securely attached. Trim any excess length from the zip ties using wire cutters.
Make Additional Attachments for Stability
To ensure the stability of your trellis, it’s important to make additional attachments if needed. Here are some steps you can take:
Use additional wire ties or clips to secure any loose sections of the trellis
Inspect the trellis for any loose sections or areas that are not securely attached. Use wire ties or clips to fasten these sections to the fence. Make sure to tighten them properly to ensure stability.
Verify that the trellis is securely attached to the fence
After making any necessary adjustments or additional attachments, visually inspect the trellis to ensure it is securely attached to the fence. Give it a gentle tug to test its stability. If everything feels secure, you have successfully attached your trellis!
Maintaining and Replacing Attachments
To ensure the longevity and stability of your trellis, it’s important to regularly check the attachments for any signs of damage or wear. Here are some maintenance tips to keep in mind:
Regularly check the attachments for any signs of damage or wear
Inspect the attachments periodically to ensure they are still in good condition. Look for any signs of rust, loose connections, or visible damage. If you notice any issues, address them promptly to prevent further damage.
Replace any damaged or loose attachments to ensure the stability of the trellis
If you find any damaged or loose attachments during your maintenance checks, it’s crucial to replace them promptly. This will help maintain the stability and integrity of your trellis. Use the same attachment method as before or choose an alternative method that suits your needs. This is another crucial part of the steps for attaching trellis.
By following these steps for attaching trellis to an existing fence and regularly maintaining the attachments, you can enjoy a beautiful and functional trellis that enhances your outdoor space. Remember to select the appropriate attachment method for your specific situation, and always prioritize safety and stability. Happy trellis installation!
Read A Step-by-Step Guide to Fixing Trellis to a Fence with Concrete Posts


