Whether you’re a seasoned DIY enthusiast or a novice looking to upgrade your home, the process of installing a lintel above an existing window may seem daunting at first. Thankfully, with a little guidance and the right tools, this task can be accomplished easily and efficiently. In this article, we will walk you through the step-by-step process of installing a lintel above an existing window, ensuring that you feel confident and equipped to tackle this project with ease. So, let’s get started and transform your window into a focal point that not only adds structural integrity but also enhances the overall aesthetic appeal of your home!

Understanding the Purpose of a Lintel
Definition of a Lintel
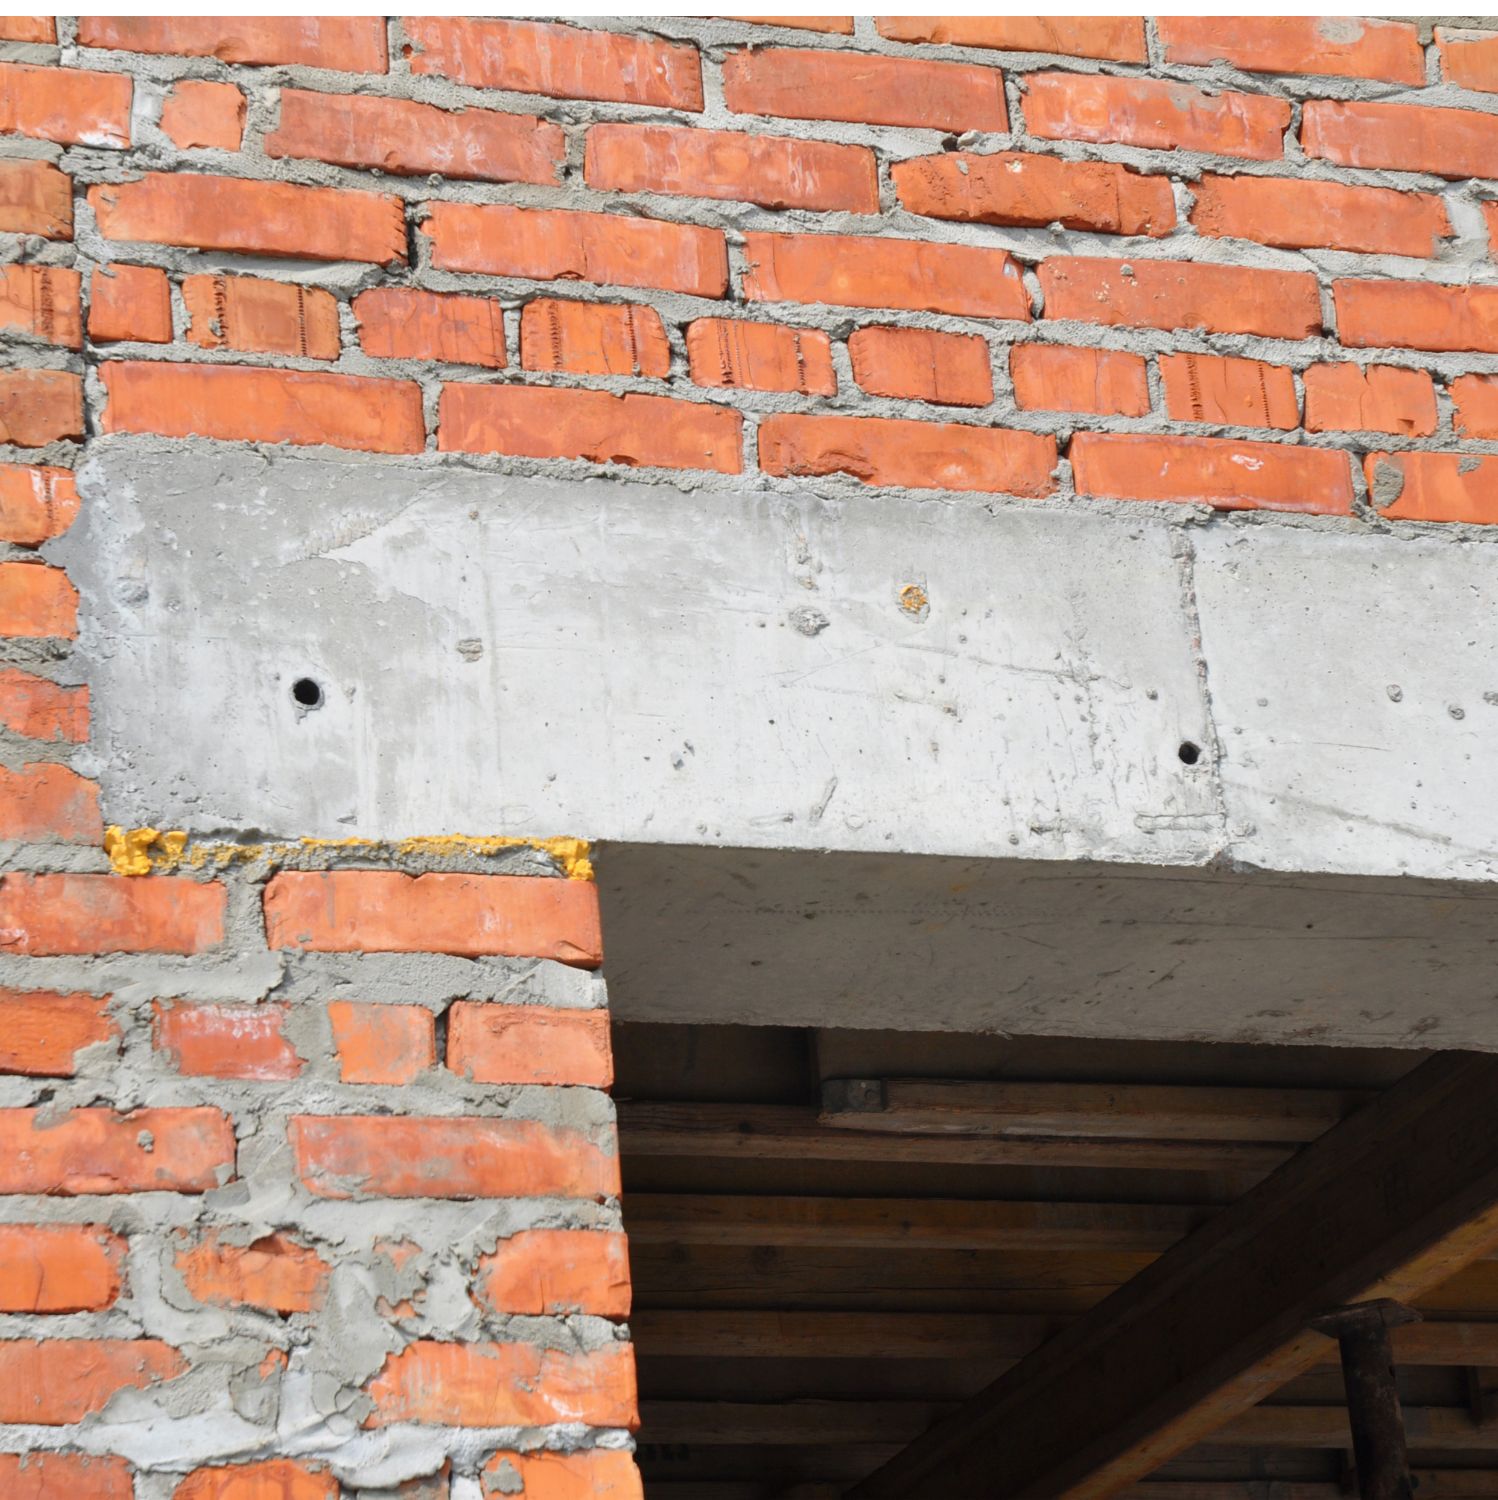
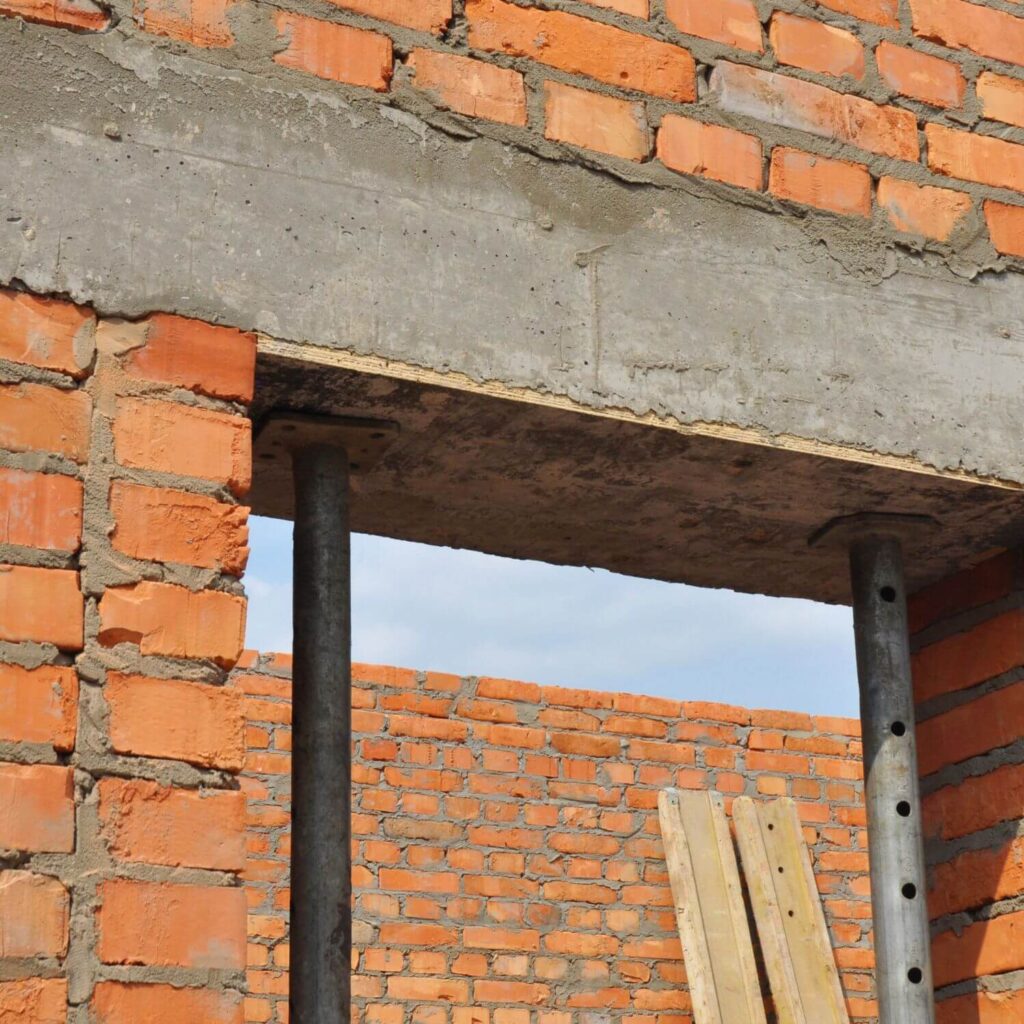
A lintel is a horizontal architectural element that spans the top of an opening, such as a window or doorway, to provide structural support. It serves as a load-bearing element, distributing the weight from above to the surrounding walls and preventing the opening from collapsing. Lintels are commonly made of materials such as steel, concrete, or wood, depending on the requirements of the structure.
Importance of a Lintel
Lintels play a crucial role in maintaining the structural integrity of a building. Without a properly installed lintel, the weight from above can cause the walls to bow or even collapse, leading to extensive damage and potential safety hazards. By distributing the load across the surrounding walls, a lintel ensures that the opening remains stable and secure. Additionally, lintels also help to provide architectural support and aesthetic appeal by creating a cohesive and polished look in buildings.
Signs of Lintel Damage
It is important to be aware of the signs that may indicate lintel damage, as swift action can prevent further complications. Common signs of lintel damage include cracks in the surrounding walls, sagging or uneven windows, difficulty opening or closing windows, or visible displacement of building materials around the opening. If you notice any of these signs, it is crucial to have a professional assess and repair the lintel to prevent further damage and ensure the safety of the structure.
Benefits of Installing a Lintel
Installing a lintel above an existing window offers several benefits. Firstly, it provides structural reinforcement, ensuring the stability and durability of the opening. This not only safeguards the building against potential collapse but also extends the lifespan of the window itself. Additionally, a properly installed lintel can improve the energy efficiency of the window by reducing air leakage and heat transfer. Lastly, installing a lintel allows for the potential relocation or resizing of the window, providing flexibility in future renovations or design changes.
Assessing the Window and Existing Structure
Measuring the Window Opening
Before installing a lintel, it is crucial to measure the dimensions of the window opening accurately. This includes measuring the height, width, and depth of the opening. Accurate measurements will ensure that the lintel is appropriately sized and fits securely within the window frame.
Determining the Load-Bearing Wall
Identifying the load-bearing wall that the lintel will be installed above is essential for proper installation. Load-bearing walls carry the weight of the structure above, so it is essential to confirm which wall is responsible for supporting the load from the floor or ceiling above the window. It is recommended to consult an architect or structural engineer to accurately determine the load-bearing wall.
Inspecting the Surrounding Structure
Before installing a lintel, it is crucial to inspect the condition of the surrounding structure. Look for any signs of damage, such as cracks or bulges, as these may indicate underlying structural issues that need to be addressed before installing the lintel. Additionally, visually assess the materials used in the construction of the surrounding walls and window frame, as this will help determine the appropriate lintel material to use.
Identifying Potential Challenges
During the assessment phase, it is important to identify any potential challenges that may arise during the installation process. These challenges could include obstructions within the wall, such as electrical wiring or plumbing pipes, that may need to be relocated or worked around. By identifying these challenges beforehand, you can plan accordingly and ensure a smooth and efficient installation process.
Calculating the Lintel Size and Materials
Understanding Load Requirements
To calculate the appropriate size of the lintel, it is crucial to understand the load requirements it will need to bear. This includes considering the weight of the structure above the window, as well as any additional loads such as roofing materials or upper-level flooring. Consulting with a structural engineer is recommended to accurately determine the load requirements and ensure that the chosen lintel can withstand the anticipated loads.
Determining Load Distribution
Load distribution refers to how the weight from the structure above the window will be evenly distributed along the lintel and the surrounding walls. This is important in preventing any concentrated loads that may lead to premature lintel failure or damage to the surrounding structure. The appropriate distribution of load can be achieved through proper lintel sizing, material selection, and engineering calculations.
Consulting Structural Engineers
The expertise of a structural engineer is invaluable when determining the appropriate lintel size and materials for your specific installation. They can assess the structural requirements of the building, provide recommendations based on load calculations, and ensure compliance with building codes and regulations. By working closely with a structural engineer, you can have peace of mind knowing that your lintel installation will be safe and reliable.
Choosing the Appropriate Lintel Material
The choice of lintel material depends on factors such as the load requirements, architectural preferences, and budget constraints. Common lintel materials include steel, concrete, and wood. Steel lintels offer excellent strength and durability, making them suitable for heavy-duty applications. Concrete lintels provide a cost-effective option and can be designed to match the aesthetic of the surrounding structure. Wood lintels are often used for their natural beauty and are popular in historic or rustic buildings. Consulting with a professional will help determine the most suitable material for your specific needs.
Preparing the Window and Surrounding Area
Removing Window Trim and Casing
To prepare the window and surrounding area for lintel installation, begin by removing the window trim and casing. Carefully pry off the decorative trim using a pry bar or a hammer and chisel. Take caution to avoid damaging the window frame or surrounding wall during this process.
Clearing Debris and Obstructions
Ensure the area around the window opening is clear of any debris or obstructions that may impede the installation process. This includes removing any loose bricks, dirt, or plants from the surrounding area. A clear workspace will facilitate a smoother installation and minimize potential hazards.
Protecting Glass and Frame
Before continuing with the installation, it is essential to protect the glass and frame of the window from potential damage. Cover the window glass with plywood or cardboard and secure it in place with tape. This will prevent any accidental breakage or scratches during the construction process. Additionally, consider covering the window frame with a protective material to safeguard it from debris or tool damage.
Securing Temporary Supports
Temporary supports are crucial during the installation process to ensure the stability and safety of the surrounding structure. Temporary supports can be installed on either side of the window opening to bear the weight temporarily while the lintel is being installed. These supports can be made of strong beams or adjustable telescopic props, which can be adjusted to the desired height to evenly distribute the load. Temporary supports should be securely fastened and positioned to provide optimal support during the installation process.

Removing the Existing Window Supports
Removing Window Frame and Sashes
Once the window and surrounding area are adequately prepared, the next step is to remove the existing window frame and sashes. Carefully detach any screws or nails securing the frame to the surrounding wall. Gently pry the frame away from the opening, taking care not to damage the surrounding structure or the window frame. Remove the sashes by unscrewing or detaching any fasteners that may be holding them in place.
Dismantling Interior and Exterior Supports
After removing the window frame and sashes, proceed to dismantle any interior or exterior supports attached to the window opening. These supports may include wooden headers, trim, or any additional structural elements. Carefully remove these supports while ensuring structural integrity and minimizing damage to salvageable materials.
Working Methodically and Safely
It is essential to work methodically and safely during the removal process to prevent accidents and minimize damage. Use appropriate personal protective equipment (PPE), such as safety goggles, gloves, and a hard hat, to protect yourself from any potential hazards. Take your time to ensure each step is executed properly and double-check for any remaining screws or fasteners before proceeding.
Preserving Salvageable Materials
While removing the existing window supports, take care to preserve any salvageable materials that can be reused or repurposed later. Salvageable materials may include trim, molding, or any decorative elements that can enhance the aesthetic appeal of the renovated window. Properly store these materials in a safe and organized manner to prevent damage and facilitate their future use.
Installing the Lintel
Preparing the Lintel for Installation
Before installing the lintel, ensure it is properly prepared for installation. This includes cleaning the lintel to remove any dirt or debris that may affect its structural integrity. Ensure that the lintel is cut to the appropriate size and shape for the window opening. If necessary, any required modifications or adjustments should be made prior to installation.
Cutting and Removing Bricks or Masonry
To make room for the lintel, it may be necessary to cut or remove bricks or masonry from the top of the window opening. Use appropriate tools such as a brick chisel, masonry saw, or angle grinder to carefully remove the necessary amount of material. Avoid excessive force that could cause damage to the surrounding structure.
Placing the Lintel in Position
With the opening prepared, carefully place the lintel in its designated position. Ensure that the lintel is level and properly aligned with the surrounding walls. The lintel should be snugly fitted against the inner edges of the window opening, providing even support across its entire length.
Aligning and Leveling the Lintel
Proper alignment and leveling of the lintel are crucial for its stability and functionality. Use a spirit level to ensure that the lintel is horizontally level. Make any necessary adjustments to achieve proper alignment before proceeding to the next step. It may be helpful to have another person assist in holding the lintel in place during this process.

Securing the Lintel
Using Appropriate Anchoring System
To secure the lintel in place, it is important to utilize an appropriate anchoring system. The choice of anchoring system will depend on factors such as the lintel material, load requirements, and building regulations. Common anchoring systems include metal ties, expansion anchors, or chemical resin anchors. Properly installing and securing the chosen anchoring system will ensure the longevity and stability of the lintel.
Ensuring Proper Weight Distribution
During the securing process, it is crucial to ensure that the weight from the structure above the window is evenly distributed along the lintel. This prevents any concentrated loads that may compromise the lintel’s integrity or cause damage to the surrounding structure. Proper weight distribution can be achieved by following construction guidelines, consulting with a structural engineer, and meticulously installing the chosen anchoring system.
Checking Lintel Stability
After securely fastening the lintel, it is essential to verify its stability and structural integrity. Gently apply pressure to the lintel and observe for any signs of movement, flexing, or instability. Any indications of instability should be addressed immediately to prevent future complications or potential failure.
Reinforcing with Structural Adhesive
In some cases, reinforcing the lintel with a structural adhesive may be beneficial. Structural adhesive can provide additional strength and stability to the lintel while minimizing the risk of movement or displacement. Consult with a professional to determine if reinforcing with structural adhesive is necessary for your specific installation.
Rebuilding the Window Opening
Replacing Removed Bricks or Masonry
Following the installation of the lintel, it is important to rebuild the window opening by replacing any bricks or masonry that were previously removed. Ensure that the replacement materials match the existing structure in terms of appearance and strength. Apply appropriate mortar or adhesive to securely fasten the bricks or masonry in their designated positions.
Realigning and Adjusting Window Cavity
During the rebuilding process, it is crucial to realign and adjust the window cavity to accommodate the reinstalled window frame. This includes ensuring that the window cavity is level, plumb, and properly aligned with the surrounding structure. Carefully adjust the depth and position of the window cavity as necessary to achieve the desired fit.
Restoring Surrounding Wall Surface
Once the window opening is rebuilt and realigned, it is important to restore the surrounding wall surface to its original condition. This may involve applying a layer of plaster or sealant to smooth out any imperfections or uneven surfaces. Take care to match the texture and appearance of the surrounding wall to ensure a cohesive and visually appealing result.
Applying Finishing Touches
The final step in rebuilding the window opening is applying finishing touches to create a polished look. This may involve painting or staining the surrounding wall to match the existing color scheme, installing decorative trim or molding, or adding weatherproofing measures such as silicone sealant or weatherstripping. These finishing touches enhance the aesthetic appeal of the window and contribute to its longevity and functionality.
Reinstalling the Window
Preparing and Testing the Window
Before reinstalling the window, thoroughly clean both the window frame and the window glass. Inspect the frame for any signs of damage or wear and make any necessary repairs. Test the window by opening and closing it to ensure smooth operation. Additionally, check for any gaps or air leaks that may require further weatherproofing measures.
Applying Weatherproofing Measures
To improve the energy efficiency and weather resistance of the window, it is important to apply appropriate weatherproofing measures. This may include applying silicone sealant around the frame and window opening, installing weatherstripping to prevent air leakage, or adding insulation to minimize heat transfer. These measures will help create a more comfortable and energy-efficient living environment.
Inserting the Window Frame
With the window prepared and weatherproofing measures in place, carefully insert the window frame into the rebuilt cavity. Take care to ensure proper alignment, levelness, and snug fit. Securely fasten the frame into place, following the manufacturer’s instructions or guidelines. Ensure that all screws or fasteners are tight to provide stability and prevent any air or water infiltration.
Sealing and Insulating
To further enhance the energy efficiency and weather resistance of the window, it is important to properly seal and insulate the installed frame. Apply appropriate sealant around the edges of the frame to prevent air and water penetration. Additionally, insulate the gap between the frame and the surrounding wall with insulation material, such as expanding foam or fiberglass batts. This will optimize the window’s performance and contribute to a comfortable indoor environment.
Testing and Ensuring Structural Integrity
Inspecting the Installed Lintel
After completing the installation process, it is crucial to thoroughly inspect the installed lintel for any signs of damage, movement, or instability. Carefully examine the surrounding structure, including the walls and window frame, to ensure that they remain intact and undamaged. Any indications of potential issues should be addressed promptly to prevent further complications or potential risks.
Conducting Load and Safety Tests
To ensure the structural integrity and safety of the installed lintel, it is important to conduct load and safety tests. This may involve applying additional weight to the lintel or subjecting it to simulated load conditions to verify its strength and stability. Additionally, perform safety tests such as window opening and closing to ensure proper functionality and ease of use.
Addressing Any Issues
If any issues or concerns arise during the inspection or testing phase, it is important to address them promptly. Consult with a structural engineer or qualified professional to assess and resolve any identified issues. Timely intervention and appropriate solutions will prevent potential risks and prolong the lifespan of the lintel and surrounding structure.
Hiring Professionals for Verification
It is strongly recommended to hire professionals for the verification of the installed lintel. Structural engineers or licensed contractors have the expertise and experience to evaluate the installation and ensure compliance with building codes and regulations. Their professional assessment will provide reassurance regarding the structural integrity and long-term performance of the lintel installation.
Installing a lintel above an existing window requires careful planning, proper execution, and adherence to safety measures. By following the outlined steps and seeking professional guidance when necessary, you can successfully install a lintel that provides structural support, enhances the aesthetic appeal of the window, and contributes to the overall stability and longevity of the building. Remember to prioritize safety throughout every stage of the installation process and consult with professionals for verification and assessment to ensure a successful outcome.


