If you’ve ever wondered how to install an internal lintel on a brick wall, you’re in the right place. In this article, we’ll walk you through the process step by step, so you can confidently tackle this project yourself. Whether you’re looking to add an opening in your wall or replace an existing lintel, we’ve got you covered. So grab your tools and let’s get started!
What is an Internal Lintel?
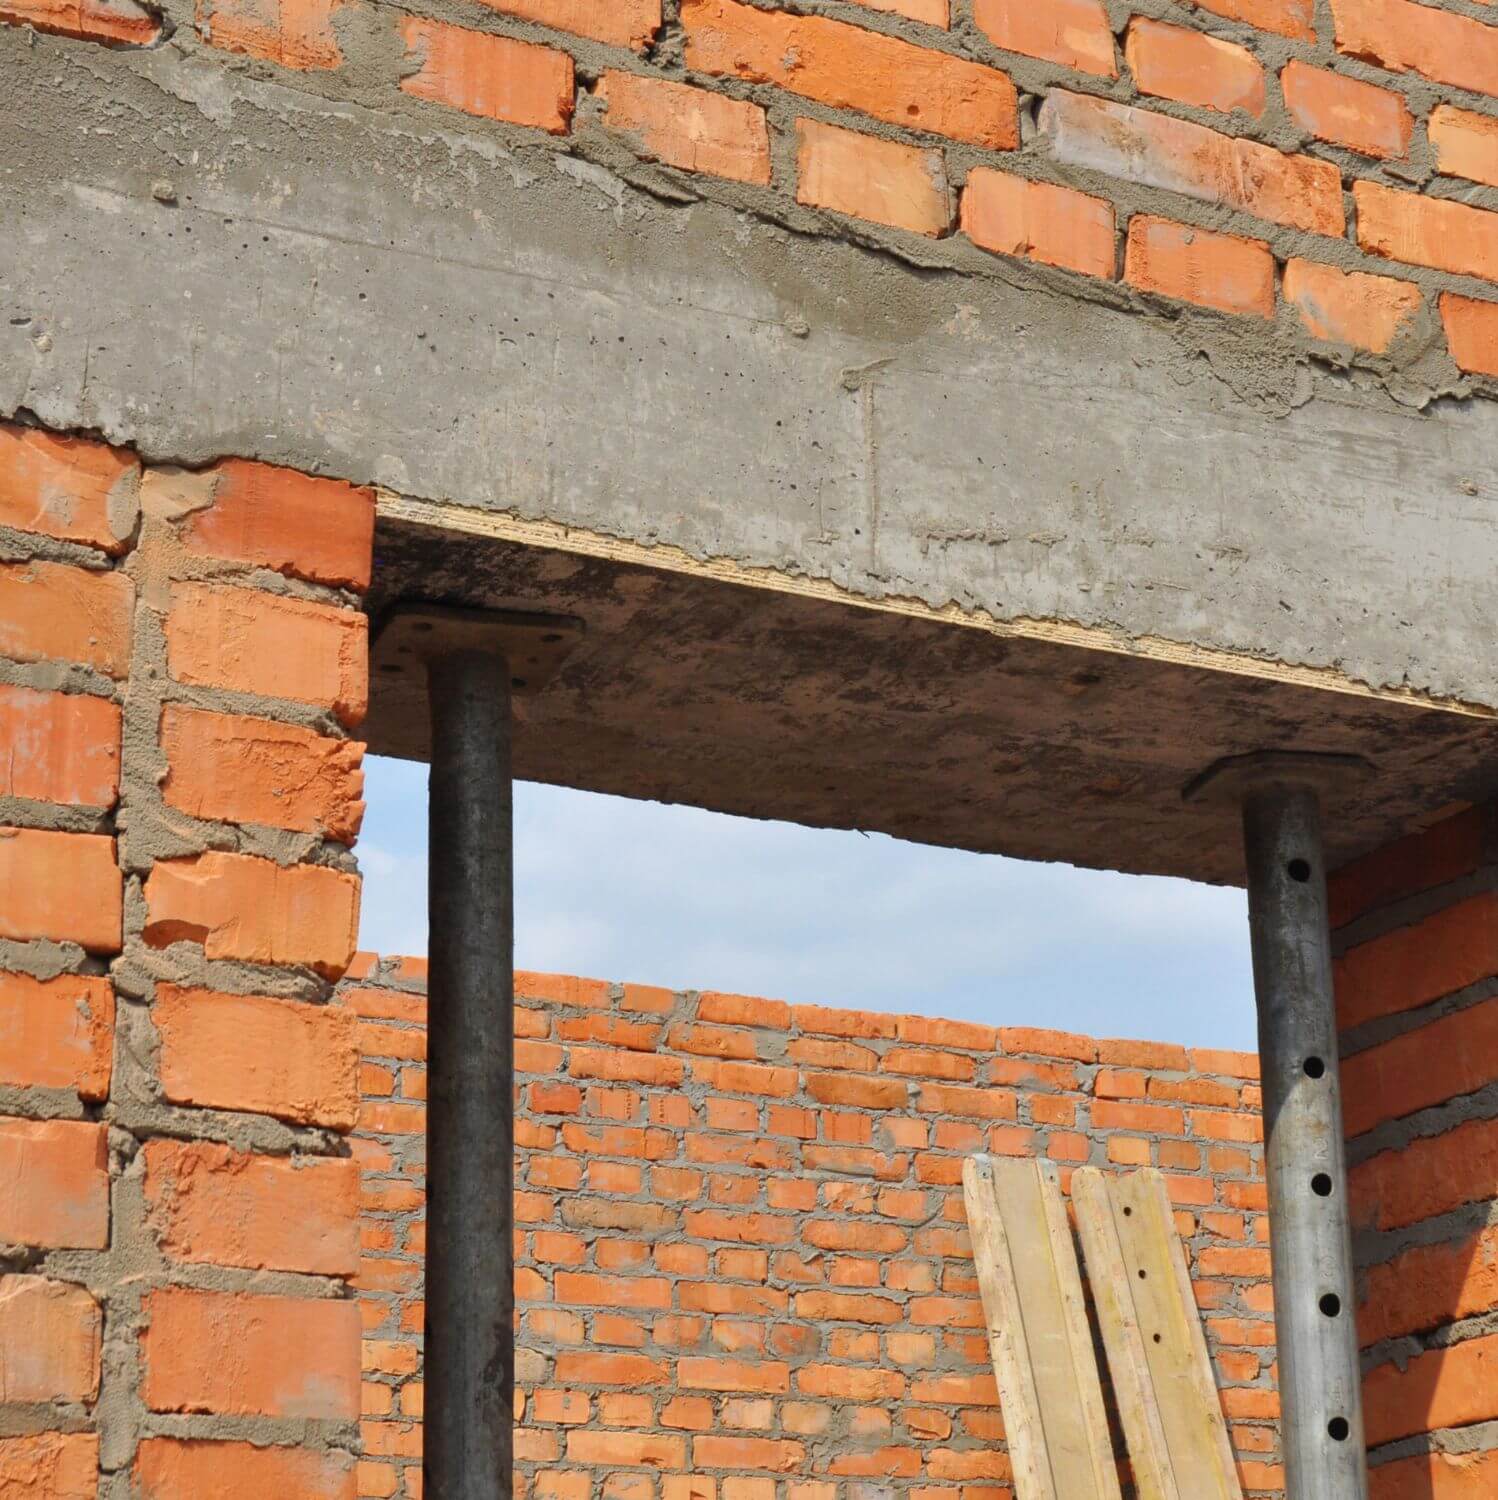
An internal lintel is a horizontal structural member that is installed above an opening, such as a door or window, in a brick wall. It is used to distribute the weight of the wall above the opening and provide support, preventing the wall from sagging or collapsing. Internal lintels can be made from different materials, including steel and concrete, depending on the specific requirements of the construction project.
Types of Internal Lintels
1. Steel Lintel
Steel lintels are a popular choice for internal applications due to their strength and versatility. They are made from high-quality steel and are able to support heavy loads. Steel lintels can be custom-made to fit specific project requirements, ensuring a precise and secure installation. They are lightweight and easy to handle, minimizing the need for additional labor during installation. Steel lintels also offer excellent durability and resistance to corrosion, making them suitable for both interior and exterior applications.
2. Concrete Lintel
Concrete lintels are another common choice for internal applications. They are made from reinforced concrete and offer excellent load-bearing capacity. Concrete lintels are typically precast, which means they are manufactured off-site and delivered to the construction site ready for installation. This makes the installation process faster and more efficient. Concrete lintels are available in various sizes and shapes, allowing for customization to fit specific project requirements. They are a cost-effective option and provide good thermal insulation properties.

Tools and Materials Needed
To install an internal lintel on a brick wall, you will need the following tools and materials:
1. Tape Measure
A tape measure is used to accurately measure the dimensions of the opening and determine the size of the lintel needed.
2. Chalk Line
A chalk line is used to mark the position of the lintel on the wall, ensuring a straight and level installation.
3. Masonry Saw
A masonry saw is used to cut through the brickwork, creating a space for the lintel to be installed.
4. Mortar Mix
Mortar mix is used to secure the lintel in place and fill any gaps between the lintel and the brickwork.
5. Trowel
A trowel is used to apply the mortar mix and smooth it out during the installation process.
6. Level
A level is used to ensure that the lintel is installed horizontally and remains level throughout the process.
7. Lintel
The lintel itself is a crucial component and can be made from steel or concrete, as mentioned earlier.
8. Shims
Shims are small wedges used to provide additional support and ensure that the lintel is level and properly aligned.
9. Masonry Drill
A masonry drill is used to create holes in the brickwork for the installation of bolts or other fasteners.
10. Bolts
Bolts are used to secure the lintel in place and provide additional stability.
Safety Precautions
When working with lintels and installing them on a brick wall, it is important to prioritize safety. Here are some safety precautions to keep in mind:
1. Wear protective gear
Always wear appropriate protective gear, such as gloves, safety goggles, and a hard hat, to minimize the risk of injury.
2. Use caution when working at heights
If the lintel installation requires working at heights, ensure that you have the necessary safety equipment, such as scaffolding or a sturdy ladder. Take precautions to prevent falls and accidents.

Step-by-Step Guide
Now let’s walk through the step-by-step process of installing an internal lintel on a brick wall:
1. Prepare the Wall
Before installing the lintel, ensure that the wall is clean and free from debris. Remove any loose bricks or mortar to create a clean and stable surface.
2. Measure and Mark
Measure the dimensions of the opening and mark the position of the lintel on the wall using a chalk line. Ensure that the markings are straight and level.
3. Cut Brickwork
Using a masonry saw, carefully cut through the brickwork following the marked lines. Take caution not to damage surrounding bricks or compromise the structural integrity of the wall.
4. Mix Mortar
Prepare the mortar mix according to the manufacturer’s instructions. Ensure that the consistency is suitable for bonding the lintel and filling any gaps.
5. Install Lintel
Carefully place the lintel into the cut-out section of the brickwork, ensuring that it is positioned correctly and level.
6. Check Level
Use a level to verify that the lintel is perfectly horizontal. Make any necessary adjustments using shims to ensure proper alignment.
7. Secure the Lintel
Drill holes into the brickwork and attach the lintel securely using appropriate bolts or other fasteners. Make sure the lintel is securely anchored to provide support.
8. Fill Gaps with Mortar
Fill any gaps between the lintel and the brickwork with the prepared mortar mix. Use a trowel to apply the mortar, ensuring a smooth and even finish.
9. Clean up
Clean up any excess mortar and ensure that the installation area is tidy. Allow the mortar to dry and cure according to the manufacturer’s instructions.
Common Mistakes to Avoid
While installing an internal lintel on a brick wall, it is important to avoid certain common mistakes:
1. Incorrect measurement
Ensure that you measure the dimensions of the opening accurately to select the appropriate size of the lintel. An incorrect measurement may result in an ill-fitting lintel and compromise the structural integrity of the wall.
2. Insufficient support
Make sure that the lintel is adequately supported throughout the installation process. Use shims and additional fasteners as needed to ensure stability and prevent sagging.
3. Poorly mixed mortar
Ensure that the mortar mix is properly mixed according to the manufacturer’s instructions. A poorly mixed mortar may lead to weak bond strength and compromised installation.

Conclusion
Installing an internal lintel on a brick wall requires careful planning, precise measurements, and proper execution. By following the step-by-step guide and taking necessary safety precautions, you can successfully install an internal lintel that provides structural support and enhances the overall stability of the wall. Remember to select the appropriate type of lintel, whether it be steel or concrete, based on the specific requirements of your project. Avoid common mistakes such as incorrect measurements, insufficient support, and poorly mixed mortar to ensure a secure and durable installation.


