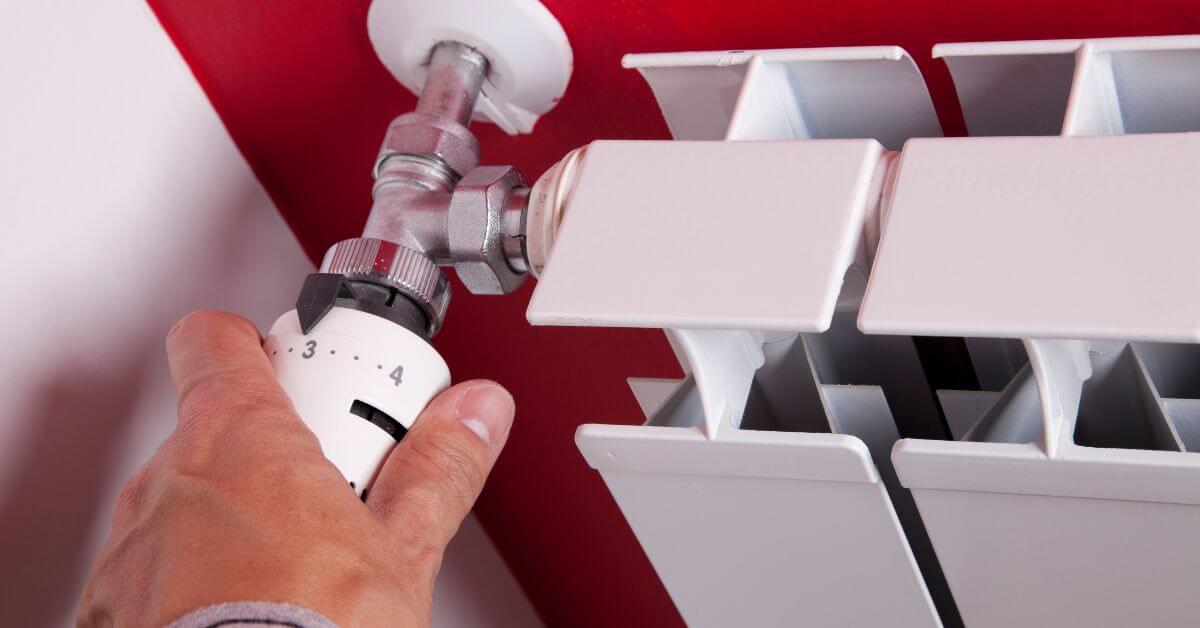
Understanding How to Change a radiator valve may seem daunting for someone without much DIY experience, but with the right tools and a systematic approach, it’s a task that can be done.
Your current valve may be faulty or you want to upgrade to a thermostatic valve to improve energy efficiency, knowing how to change a radiator valve can save you time and money.
Our comprehensive guide will help you to build confidence and get the job done
What is a Radiator Valve?
We all love a cosy home, and Winter arriving normally means we all start to turn our Central Heating on in our Homes which normally consists of Radiators.
Radiators big or small, are usually an obvious feature in the home, but what is a Radiator Valve?
A Radiator Valve means you can adjust the temperature in a room without an adjustment to the overall system. For instance, there may be a room in your home which is not being used, so do you need your Radiator running at the same rate as the radiators in the rest of your home?
It’s never a good idea to isolate heat during the winter totally, but restricting heat is likely to save you some money and ensure your heating system is running efficiently.
So how does it work? Your Radiator Valve releases hot water into your Radiator. So adjusting your Valve adjust the amount of hot water released into your Rad.
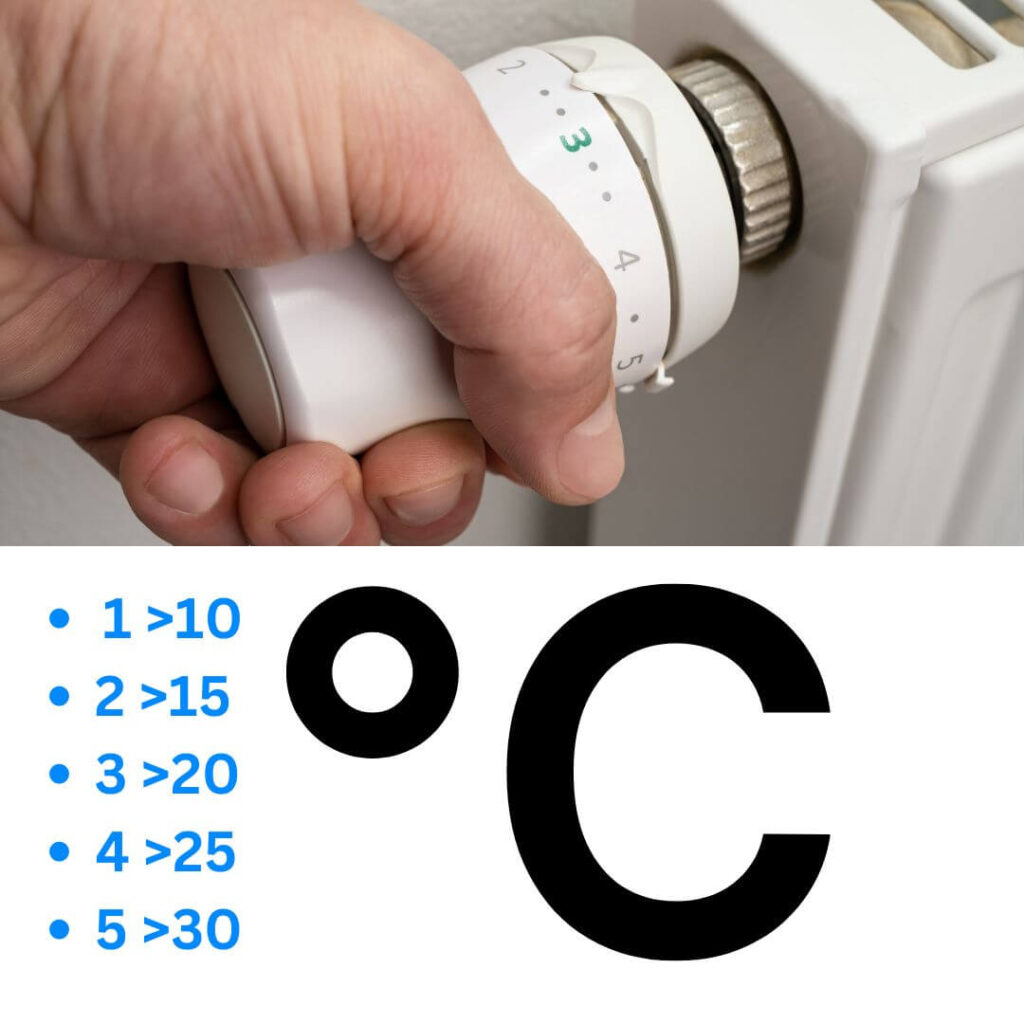
Radiator Valves may come with Numbers and Colours to indicate Hot and Cold. Typically they would be Zero – Five with Zero being Cold Shut off, and Five being Full Release, these are known as TRV’s.
Manual Radiator Valves can only switch individual Radiators on or off. This type of valve will not have number or colour values.
Why Change a Radiator Valve?
Radiator valves are essential components of your heating system, controlling the flow of hot water and therefore the radiator’s temperature. Over time, valves may become faulty due to wear and tear, leading to leaking, inefficient heating, or even complete failure to control the temperature.
Additionally, upgrading to thermostatic radiator valves (TRVs) can provide better control of individual room temperatures, which can save on heating costs. This is especially useful in large homes where certain rooms may not require constant heating.
TRV stands for Thermostatic Radiator Valve which means you control the temperature at the Radiator.
Tools You’ll Need
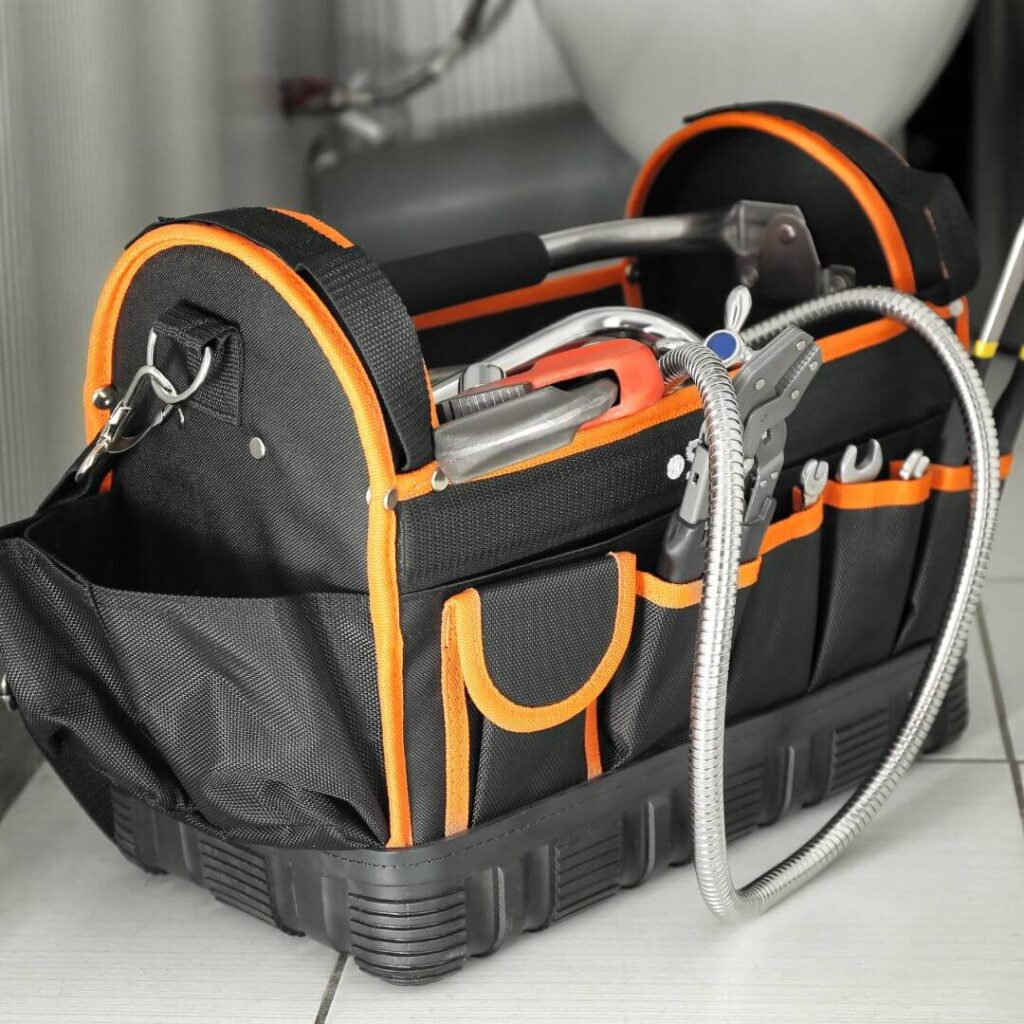
Before starting the job, it’s crucial to have the right tools at hand. The task of changing a radiator valve doesn’t require specialist tools, but here’s a list of what you’ll need:
- Adjustable spanner
- Radiator valve key
- PTFE tape (Plumber’s tape)
- A container or towels to catch water
- New radiator valve (thermostatic or manual)
- Radiator bleed key
- Pipe wrench (optional)
- Allen key (for some thermostatic valves)
Step 1: Turn Off the Heating System
Before beginning any work on the radiator, make sure your central heating system is turned off.
This is crucial to avoid scalding from hot water or steam. Water will continue flowing through the pipes if your system is still running.
You may also want to isolate the boiler or completely switch off the water supply to the system, particularly if you’ll be draining the system as part of the process.
Consult your boiler manual before switching the boiler system iff.
Step 2: Drain the Radiator
You should drain the water from the Radiator, before attempting to drain the water.
Start by closing the valves on both ends of the radiator. This involves turning the manual valve on one side and the lockshield valve (the one typically with a cap) on the other side.
Turn these fully clockwise.
Next, place a container under the valve to catch the water that will escape when you open the valve. Use a radiator key to open the bleed valve at the top of the radiator, to enable air to flow into the system, and allow the water to drain out at a steady pace.
If you’re replacing valves in more than one radiator or changing the valves on a large radiator, you may need to drain the entire system.
Locate the drain-off valve, usually found at the lowest point of your heating system, and attach a hose to lead the water outside.
Step 3: Remove the Old Valve
Once the radiator has drained, you’re ready to remove the old valve.
Loosen the nuts that connect the valve to the radiator and the pipe.
You will likely need an adjustable spanner for this, although a pipe wrench can be useful if the nuts are especially tight.
Be prepared for some residual water to come out when you remove the valve, so keep your container or towel close by to catch any additional water.
After the nuts are loosened, gently remove the old valve, be careful not to damage any pipes or the radiator.
At this point, it is probably worth cleaning the pipe and radiator connection points, especially if there’s any rust or limescale build-up, which could prevent a proper seal when you install the new valve.
Step 4: Prepare the Pipework
Before fitting the new valve, it’s important to ensure the pipework is clean and ready for the new connections. Wrap PTFE tape (plumber’s tape) around the threads of the radiator’s inlet and outlet pipes.
This tape helps to create a watertight seal and prevents leaks when the new valve is attached.
You should apply about five or six layers of PTFE tape around the threads, making sure it is wrapped tightly and evenly. This will give you added protection against potential leaks down the line.
Step 5: Install the New Valve
Now you’re ready to fit the new valve. If you’re installing a manual valve, the process is straightforward—simply screw the new valve onto the pipe and the radiator connection, tightening the nuts securely with your spanner.
If you’re upgrading to a thermostatic radiator valve (TRV), follow the specific installation instructions that come with the valve.
Some TRVs come with different fittings or require the use of an Allen key to secure the valve head to the body.
Once the valve is in place, tighten the nuts at both the radiator and pipe connection points, ensuring a firm but not overly tight seal. Be cautious not to overtighten, as this could damage the fittings or the valve itself.
Step 6: Refill the Radiator
Once the new valve is installed, it’s time to refill the radiator.
Close the bleed valve that you opened earlier to allow air to escape, then open the manual and lockshield valves on either side of the radiator to allow water to flow back into the system.
At this point, you may hear some gurgling noises as the water fills the radiator and the air is pushed out.
Keep a close eye on the valve connections as the radiator refills to check for any signs of leaking.
Step 7: Bleed the Radiator
After the radiator has been refilled, remember to bleed the trapped air from the system.
. Use a radiator key to open the bleed valve at the top of the radiator.
If air is trapped inside, you will hear a hissing sound as the air escapes. Once water begins to trickle out steadily, close the bleed valve.
This step is critical for ensuring your radiator operates efficiently. Air trapped in the radiator can lead to cold spots or reduce the overall heat output.
Step 8: Test the Heating System
Finally, turn your heating system back on and allow the radiator to heat up.
Check the new valve for leaks, ensuring that both the pipework and radiator connections are secure. If everything is functioning correctly, your radiator should heat up evenly, and the new valve should be easy to adjust.
For thermostatic radiator valves, you can now set the desired temperature for the room, and the TRV will automatically regulate the water flow to maintain that temperature.

Common Mistakes to Avoid
- Forgetting to turn off the heating: Working on a live heating system can lead to scalding or injury.
- Not using PTFE tape: Skipping this step can result in leaking connections.
- Over-tightening the valve nuts: This can damage the fittings and lead to leaks later on.
- Failing to bleed the radiator: Trapped air will prevent the radiator from heating effectively.
Conclusion
Changing a radiator valve is a practical task that most homeowners can handle with the right preparation.
By following these steps carefully and ensuring you have the necessary tools on hand, you can successfully replace your radiator valve and restore or improve your heating system’s efficiency.
Whether you’re fixing a leak or upgrading to a thermostatic radiator valve, this DIY project can have a significant impact on your home’s comfort and energy efficiency.
Always consult a Professional Tradesperson if you are in doubt or unsure at any steps of the process.
Read one of our Thermostatic Radiator Head Review
Why not take a look at our Review – Is It Cheaper To Run Fewer Radiators?


