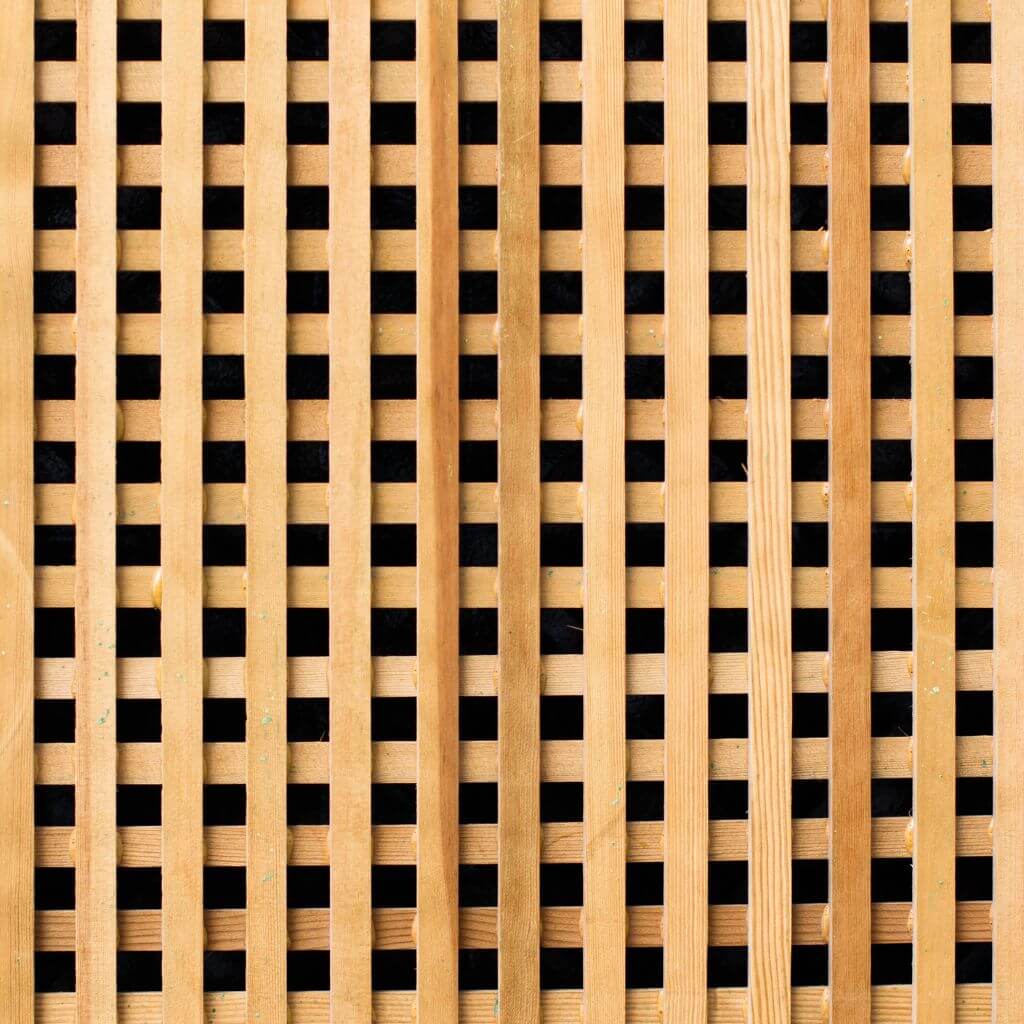
If you’ve been dreaming of adding some charm and elegance to your garden, then fixing a trellis to wooden posts is the perfect DIY project for you. Whether you want to create a beautiful backdrop for your climbing plants or add privacy to your outdoor space, this ultimate guide will provide you with all the tips and tricks you need to successfully attach a trellis to wooden posts. From choosing the right materials to step-by-step instructions, this comprehensive guide will ensure that your trellis is not only securely fixed but also adds a touch of beauty to your garden. So grab your tools and get ready to transform your outdoor oasis!
The Ultimate Guide to Fixing a Trellis to Wooden Posts
When it comes to beautifying your garden or creating a private space, a trellis can be an excellent addition. A trellis not only provides support for climbing plants but also adds visual interest to any outdoor area. Installing a trellis may seem like a daunting task, but with the right materials and a little guidance, you can easily tackle this project yourself. In this comprehensive guide, we will walk you through the entire process of fixing a trellis to wooden posts, from preparation to maintenance, and even offer some creative ideas to decorate your trellis. So, let’s get started!
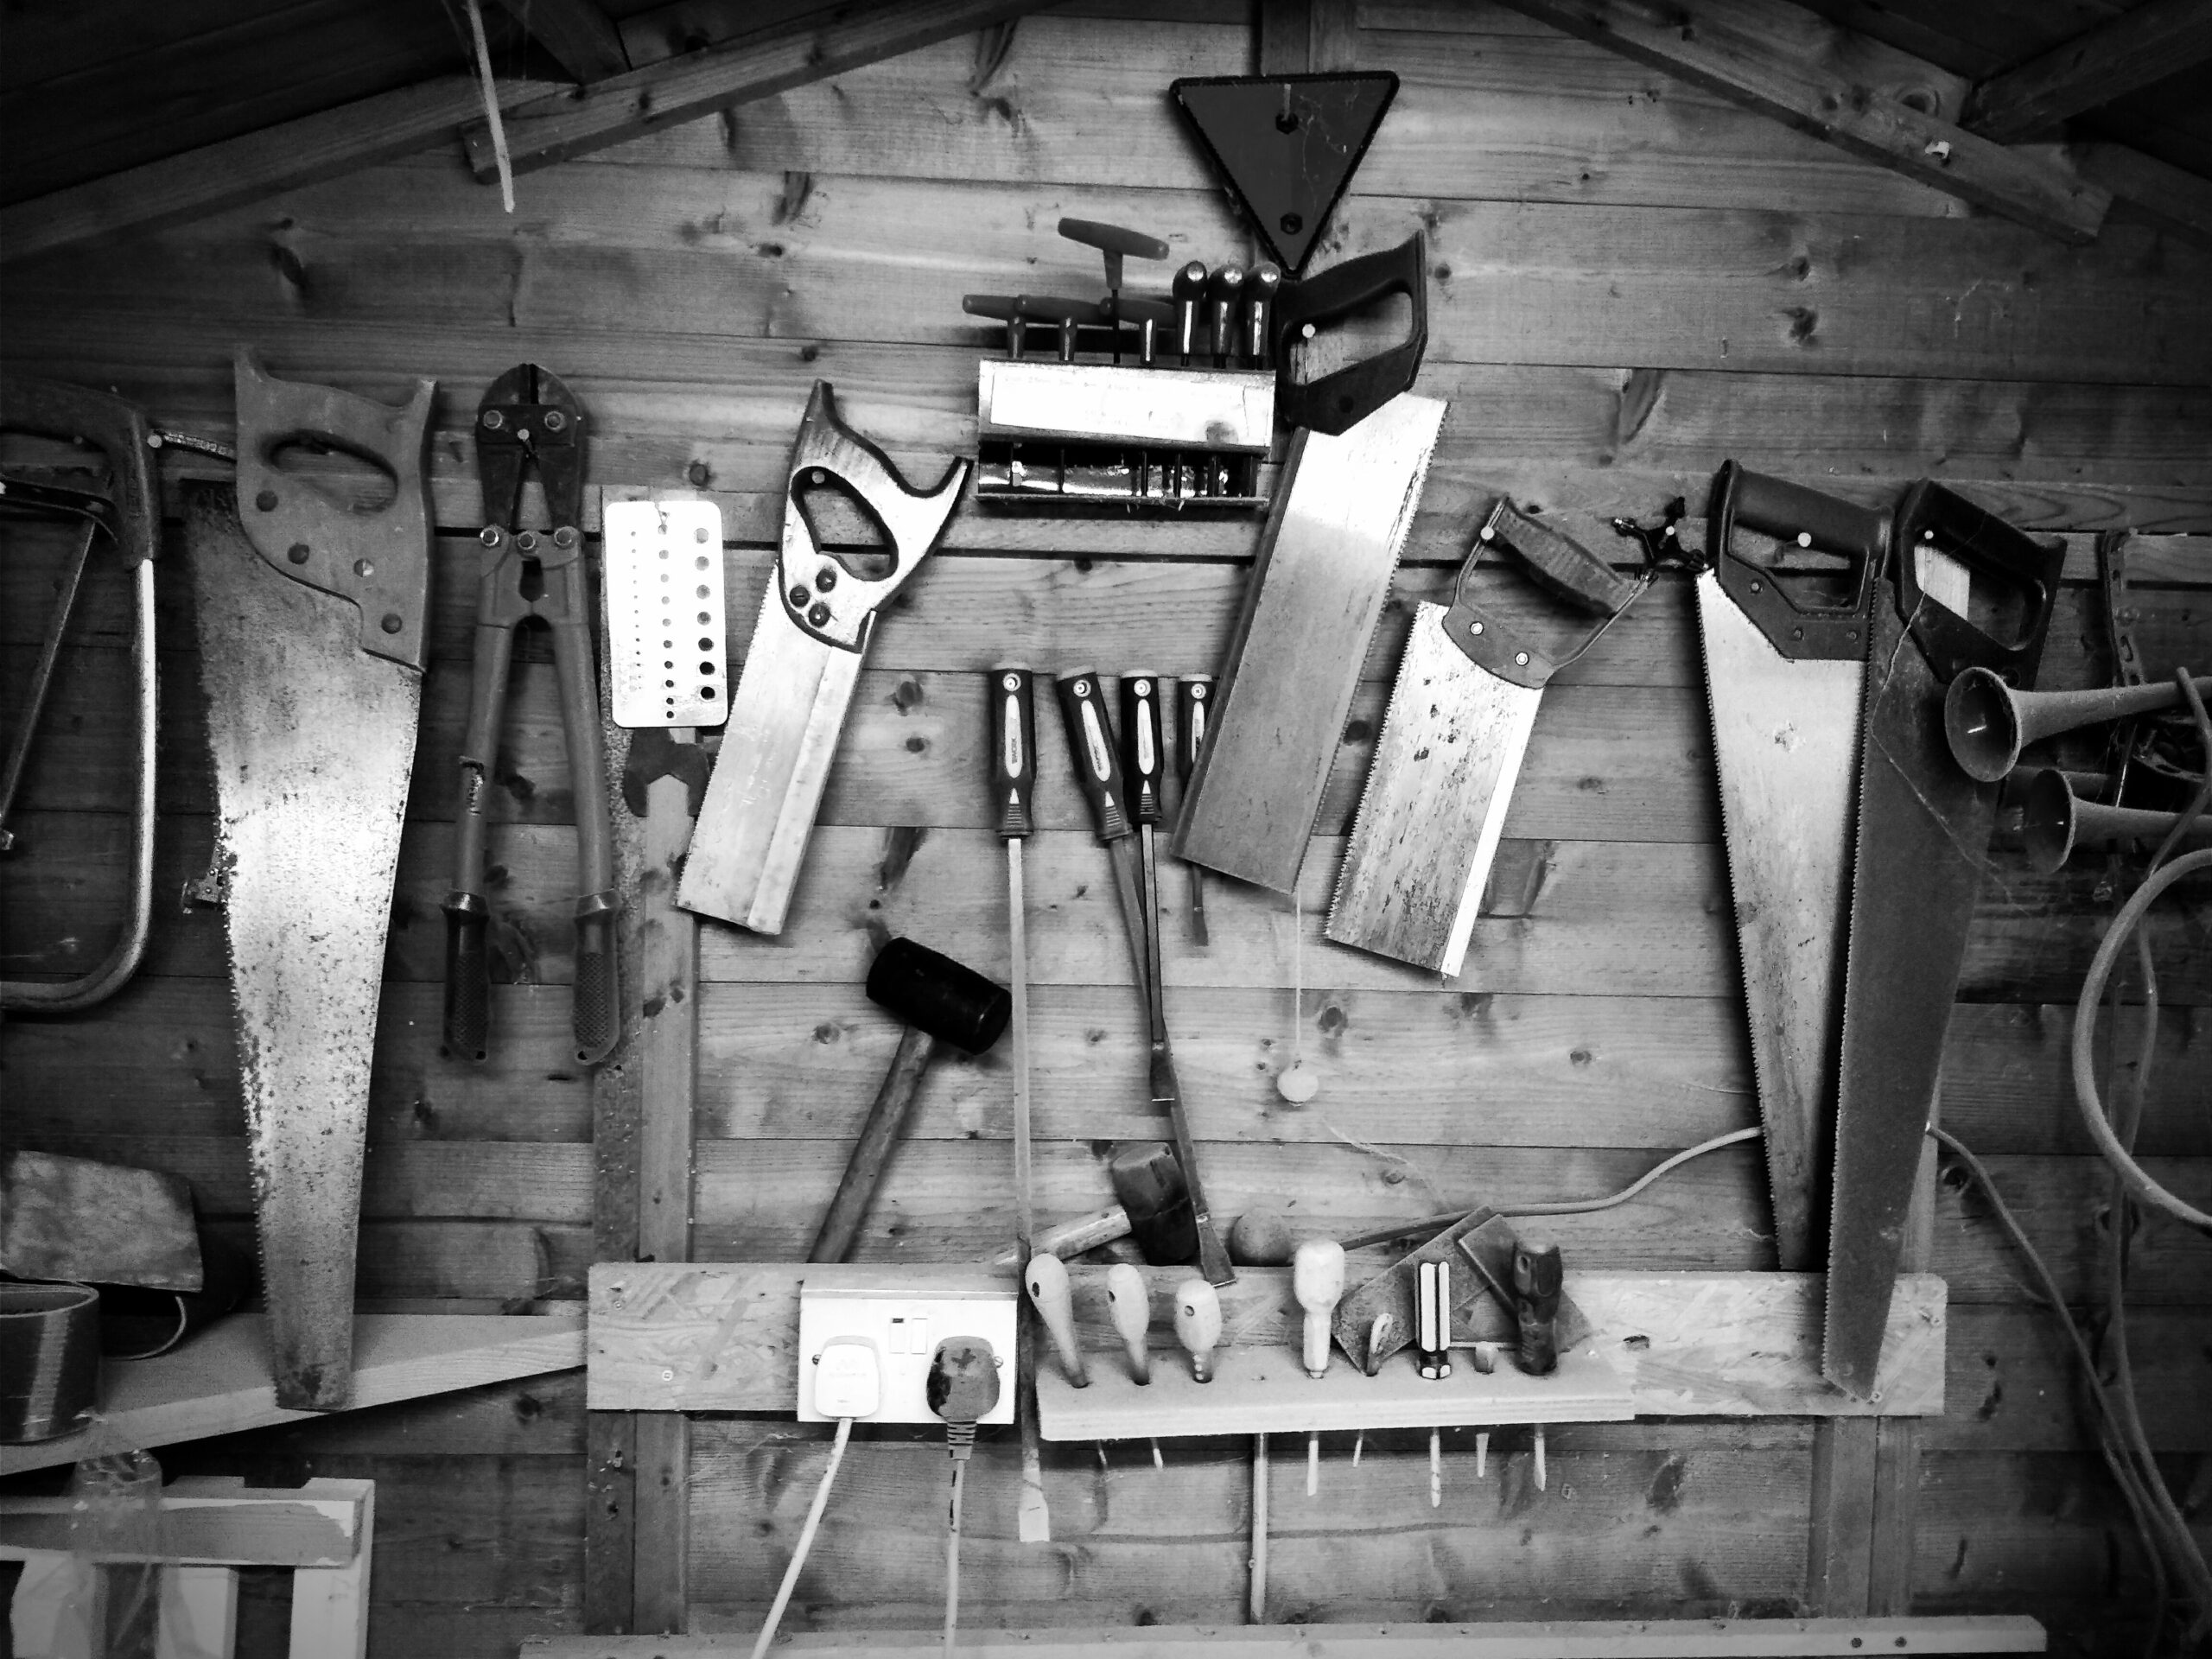
Materials needed for fixing a trellis to wooden posts
To begin, gather the necessary materials:
Trellis panels
Trellis panels are the main component of your trellis structure. You can find them in various sizes, styles, and materials, depending on your preference and the aesthetic you want to achieve.
Wooden posts
Wooden posts provide the foundation for your trellis. Choose sturdy and rot-resistant wood, such as cedar or pressure-treated lumber, to ensure durability.
Screws
Screws are essential for securing the trellis panels to the wooden posts. Opt for galvanized screws that can withstand outdoor conditions without rusting.
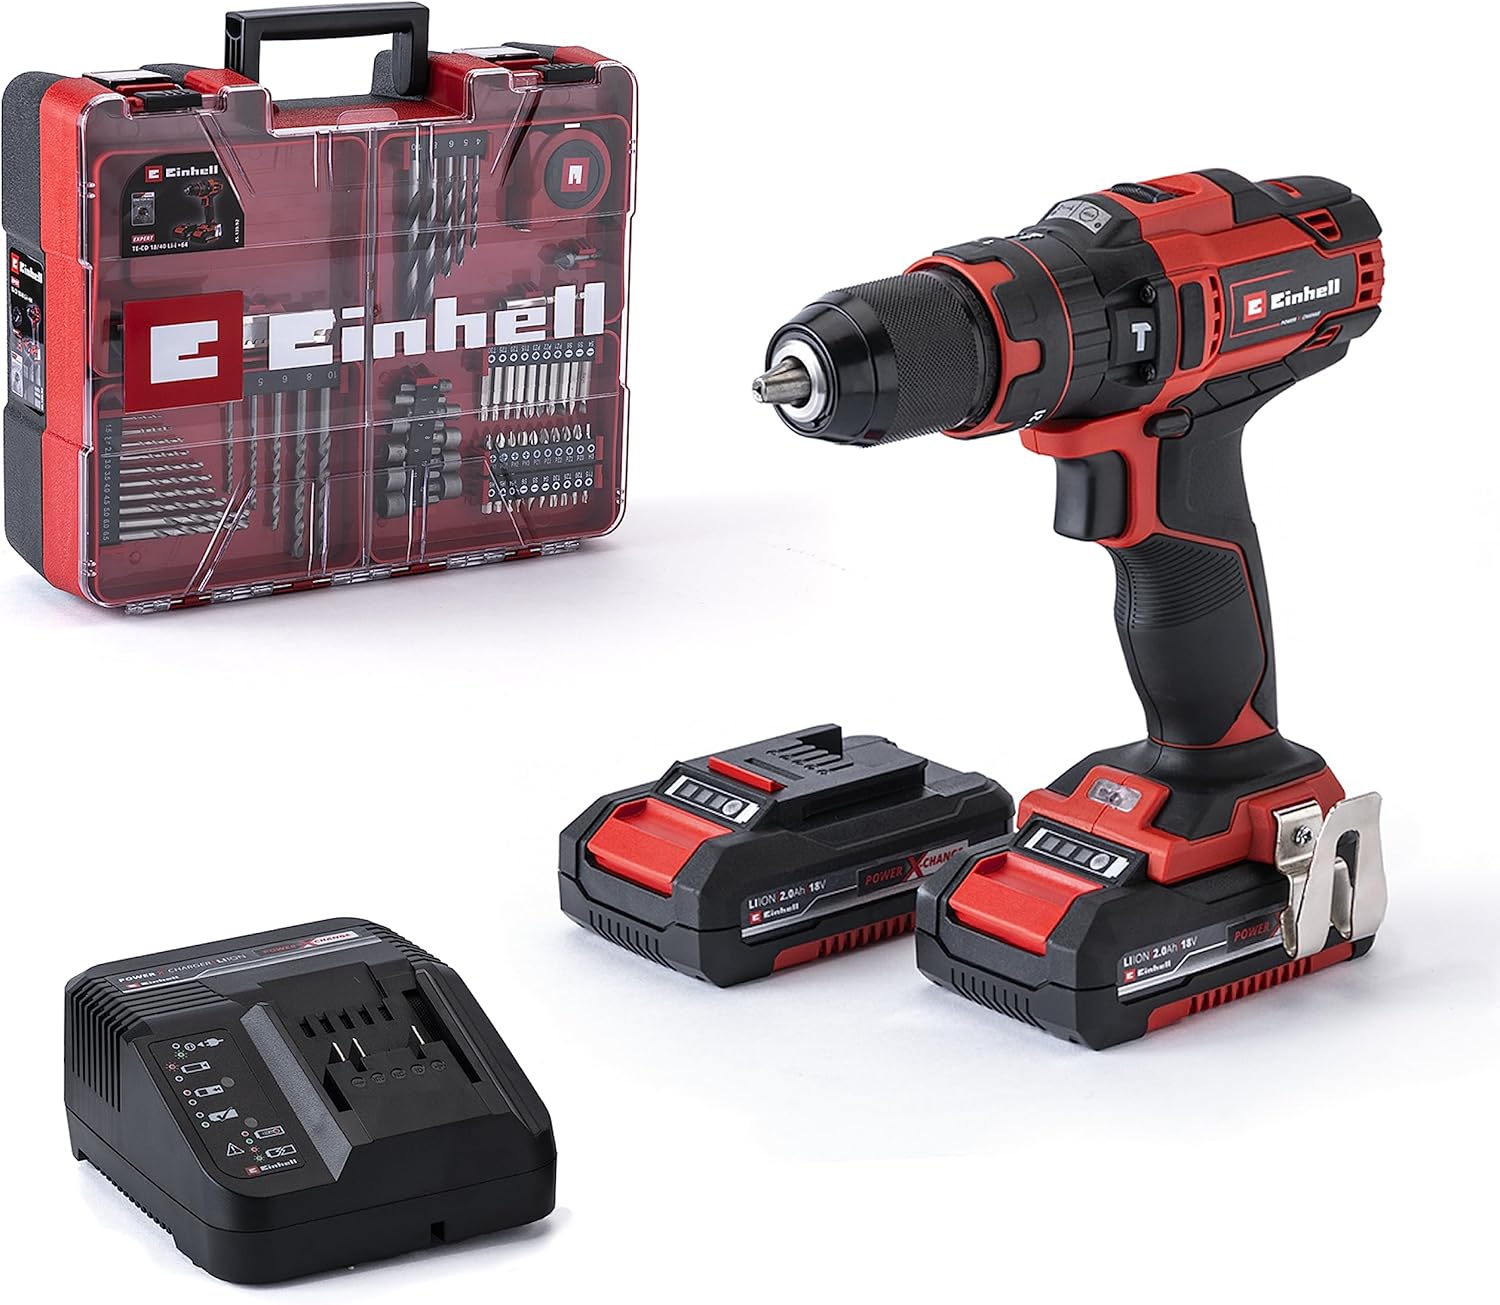
Drill
A drill is needed to create pilot holes and drive screws into the wooden posts. Make sure to use an appropriate drill bit for your screws to avoid splitting the wood.
Spirit level
A spirit level is crucial for ensuring that your trellis is straight and level. This tool will help you achieve a professional-looking installation.
Measuring tape
Measuring tape will come in handy for determining the height and spacing of the wooden posts, as well as measuring the trellis panels for a precise fit.
Pencil
A pencil will allow you to mark the positions of the wooden posts and make accurate measurements.
Saw
A saw is necessary for cutting the wooden posts to the desired length. Choose a saw that suits the thickness of your posts and provides clean cuts.
Hammer
A hammer will be used to nail any additional support structures, such as battens or metal brackets, to the trellis and wooden posts.
Nails
If you prefer to use nails instead of screws, choose the appropriate type and size for securing the trellis panels to the wooden posts.
Now that you have all the necessary materials, let’s move on to the steps required to fix a trellis to wooden posts.
Preparing the trellis and wooden posts
Choosing the right size of trellis panels
Before purchasing trellis panels, consider the size of the area where you plan to install them. Measure the height and width of the available space to ensure that the trellis panels will fit properly.
Determining the height and spacing of the wooden posts
Decide how tall you want your trellis to be and mark the desired height on each wooden post. Also, determine the spacing between the posts, which will depend on the size and design of your trellis panels. Generally, a spacing of 6 to 8 feet is suitable for most trellis installations.
Cutting the wooden posts to the desired length
Using a saw, cut the wooden posts to the desired height that you marked earlier. Make sure to cut each post precisely and leave enough length to secure them firmly into the ground.
Sand any rough edges on the wooden posts
After cutting the wooden posts, sand any rough edges or splinters to ensure a smooth surface. This will not only enhance the appearance of your trellis but also reduce the risk of injury when handling the posts.
Painting or staining the wooden posts (optional)
If you want to add a touch of color or protect the wooden posts from the elements, consider painting or staining them. Choose a paint or stain that is suitable for outdoor use and matches your desired aesthetic. Allow the posts to dry completely before proceeding with the installation.
Now that you have prepared the trellis panels and wooden posts, it’s time to move on to installing the wooden posts.
Installing the wooden posts
Identifying the locations for the wooden posts
Take your trellis panels and mark the positions where the wooden posts will be installed. These positions should correspond to the corners and intervals where the panels will be attached.
Digging holes for the wooden posts
Using a shovel or a post hole digger, carefully dig holes at the marked positions. The depth and diameter of the holes should be sufficient to provide stability and support for the posts. Typically, a depth of around one-third the height of the post is recommended.
Ensuring the holes are deep and wide enough
Take care to dig the holes deep enough so that the posts can securely fit inside. The width of the holes should also allow for easy placement and adjustment of the posts. Use a measuring tape or the trellis panel as a guide to ensure accurate hole dimensions.
Setting the wooden posts in the holes
Place the wooden posts one by one into the dug holes, ensuring they are centered and upright. If necessary, ask someone for assistance to hold the posts in position while you proceed with the installation.
Using a spirit level to make sure the posts are level
To maintain a straight and level trellis, use a spirit level to verify that each post is perfectly upright. Adjust the position of the posts as needed by adding or removing soil from underneath them.
Adding a layer of gravel at the bottom of the holes (optional)
Consider adding a layer of gravel at the bottom of each hole before inserting the posts. This will improve drainage and prevent the posts from sitting directly in wet soil, reducing the risk of rotting.
Filling the holes with concrete or compacting the soil
Once the posts are leveled and positioned correctly, you have two options for securing them in the ground. You can either fill the holes with concrete mix, following the manufacturer’s instructions, or tamp the soil firmly around the posts to provide stability. Choose the method that best suits your needs and local conditions.
Nice work so far! Let’s continue with attaching the trellis panels to the wooden posts.
Attaching the trellis panels to the wooden posts
Positioning the first trellis panel against the wooden posts
Start by positioning the first trellis panel against the wooden posts. Ensure that it is aligned with the top and sides of the posts for a clean and flush installation.
Aligning the top and sides of the trellis panel with the posts
Use your measuring tape or a spirit level to double-check that the top and sides of the trellis panel are perfectly aligned with the wooden posts. This step is crucial for achieving a professional-looking result.
Securing the trellis panel to the posts with screws
Using your drill and the appropriate drill bit, create pilot holes in the trellis panel where it meets the wooden posts. Then, with the help of a screwdriver or a power drill, drive screws into the pilot holes to secure the trellis panel in place. Ensure that the screws are tight but not overtightened to avoid damaging the panel or posts.
Adding additional trellis panels if desired
If you wish to create a larger trellis structure, repeat the previous steps to attach additional trellis panels. Make sure to leave a small gap, around 1/4 to 1/2 inch, between each panel to allow for expansion and contraction due to weather conditions.
Checking that the trellis panel is level and straight
After attaching each trellis panel, use a spirit level to verify that it is level and straight. Make any necessary adjustments by loosening or tightening the screws until the panel is perfectly aligned.
Trimming any excess trellis at the bottom (optional)
If your trellis panels are taller than the desired height, you may need to trim the excess length at the bottom. Measure and mark the desired height, then use a saw to cut through the trellis panel carefully. Remember to take safety precautions and wear protective goggles when using cutting tools.
Great progress! Now, let’s explore an alternate method using nails instead of screws for attaching the trellis panels.
Alternate method: Using nails instead of screws
Choosing the right type and size of nails
When using nails, choose nails that are appropriate for outdoor use and compatible with the thickness of your trellis panels and wooden posts. Galvanized or stainless steel nails are recommended to prevent rusting and ensure longevity.
Positioning the trellis panel against the wooden posts
Similar to the previous method, position the trellis panel against the wooden posts, ensuring that the top and sides are aligned correctly.
Aligning the trellis panel with the posts
Use your measuring tape or a spirit level to confirm that the trellis panel is aligned with the posts. Taking the time to check the alignment now will result in a more aesthetically pleasing final outcome.
Hammering nails through the trellis into the posts
Using a hammer, carefully drive the nails through the trellis panel and into the wooden posts. Space the nails evenly along the panel and posts to ensure stability and prevent any sagging or warping of the trellis.
Checking the stability of the trellis
After securing the trellis panels with nails, give the structure a gentle shake to check for any signs of instability. If necessary, reinforce the attachment points with additional nails to create a sturdy and reliable trellis.
Fantastic job! Let’s move on to securing the trellis panels with additional support for added stability.
Securing the trellis panels with additional support
Adding wooden battens for extra stability
For enhanced stability, you can add wooden battens to the trellis panels. These battens act as additional support and prevent the panels from warping or bending over time. Choose battens that are the same thickness as your trellis panels for a seamless appearance.
Positioning the battens horizontally or diagonally
Decide whether you want to position the battens horizontally or diagonally across the trellis panels. Both orientations provide extra reinforcement, but diagonal battens can add a visually pleasing geometric pattern to your trellis.
Attaching the battens to the posts and trellis panels with screws
Using your drill and the appropriate drill bit, create pilot holes in the battens and secure them to the wooden posts and trellis panels using screws. Ensure that the battens are level and firmly attached to provide the desired stability.
Using metal brackets for added reinforcement
Alternatively, you can utilize metal brackets designed specifically for trellis installations. Position the brackets at corners and along the length of the trellis, then secure them to both the wooden posts and the trellis panels using screws or nails. Metal brackets provide excellent reinforcement and stability for larger or heavier trellis structures.
You’ve done an excellent job so far! Now let’s focus on maintaining and prolonging the lifespan of your trellis.
Maintaining and prolonging the lifespan of the trellis
Regularly inspecting for any damage or loose fixings
Periodically inspect your trellis for any signs of damage, such as cracks, splits, or loose fixings. Address these issues promptly to prevent further deterioration and ensure the long-term stability of your trellis.
Replacing any damaged or rotten wooden posts
If any of the wooden posts show signs of rot or decay, it is essential to replace them promptly. Remove the damaged post, prepare a new post to the same dimensions, and follow the installation steps outlined earlier to secure it in place.
Treating the wooden posts and trellis with preservatives
To protect your wooden posts and trellis from rot, insects, and weathering, consider treating them with a suitable wood preservative. Follow the manufacturer’s instructions for applying the preservative to ensure maximum effectiveness and longevity.
Cleaning the trellis panels with mild soap and water
To maintain the appearance of your trellis, periodically clean the panels with a mixture of mild soap and water. Avoid using harsh chemicals or abrasive cleaners, as they may damage the finish or material of the trellis.
Avoiding excessive weight or strain on the panels
Prevent excessive weight or strain on the trellis panels by pruning and training your climbing plants properly. Monitor the growth of the plants and trim any excess foliage or branches to maintain a balanced and manageable load on the trellis.
Pruning and training plants properly on the trellis
When training plants on your trellis, follow the recommended pruning and attachment methods for each specific plant type. Use soft ties or natural twine to secure the branches or tendrils gently, avoiding any cutting or constricting of the plant’s growth.
Well done! Now, let’s explore some creative ideas for decorating your trellis.
Creative ideas for decorating your trellis
Painting the trellis panels with vibrant colors
Add a pop of color to your trellis by painting the panels with vibrant hues. Choose colors that complement your garden or outdoor space, creating a striking visual focal point.
Incorporating hanging baskets or potted plants
Enhance the beauty of your trellis by incorporating hanging baskets or potted plants. Choose cascading plants or those with trailing foliage to create a lush and vibrant effect.
Using string lights to create an ambient atmosphere
For a cozy and enchanting ambiance, weave string lights through the trellis panels. Illuminate your outdoor space during evenings and create a magical setting for entertaining or relaxing.
Growing climbing vines or flowers on the trellis
Plant climbing vines or flowers at the base of your trellis, allowing them to weave their way up. Choose varieties with vibrant blooms or fragrant aromas to create an eye-catching and inviting trellis.
Adding decorative elements such as mirrors or ornaments
Reflect light and create the illusion of more space by incorporating mirrors into your trellis design. Alternatively, add decorative ornaments, such as wind chimes or small sculptures, to infuse your trellis with personal flair.
Implementing a vertical garden on the trellis
Get creative and transform your trellis into a living wall by creating a vertical garden. Plant a mixture of herbs, flowers, and trailing plants in pots or vertical planters, and attach them to the trellis.
With these creative ideas, your trellis will not only be a functional structure but a stunning focal point in your garden!
Safety should always be a top priority when undertaking any DIY project. Here are some essential safety precautions to consider when fixing a trellis to wooden posts.
Safety precautions to consider
Wearing gloves to protect hands
Always wear sturdy gloves when handling wood, tools, and construction materials to protect your hands from splinters, cuts, or abrasions.
Using safety goggles when drilling or hammering
Protect your eyes by wearing safety goggles when using power tools, drilling, or hammering. This will shield your eyes from debris or flying particles.
Ensuring proper tool handling and technique
Familiarize yourself with the proper handling and operation of tools before using them. Follow the manufacturer’s instructions and use tools with caution and care to prevent accidents or injuries.
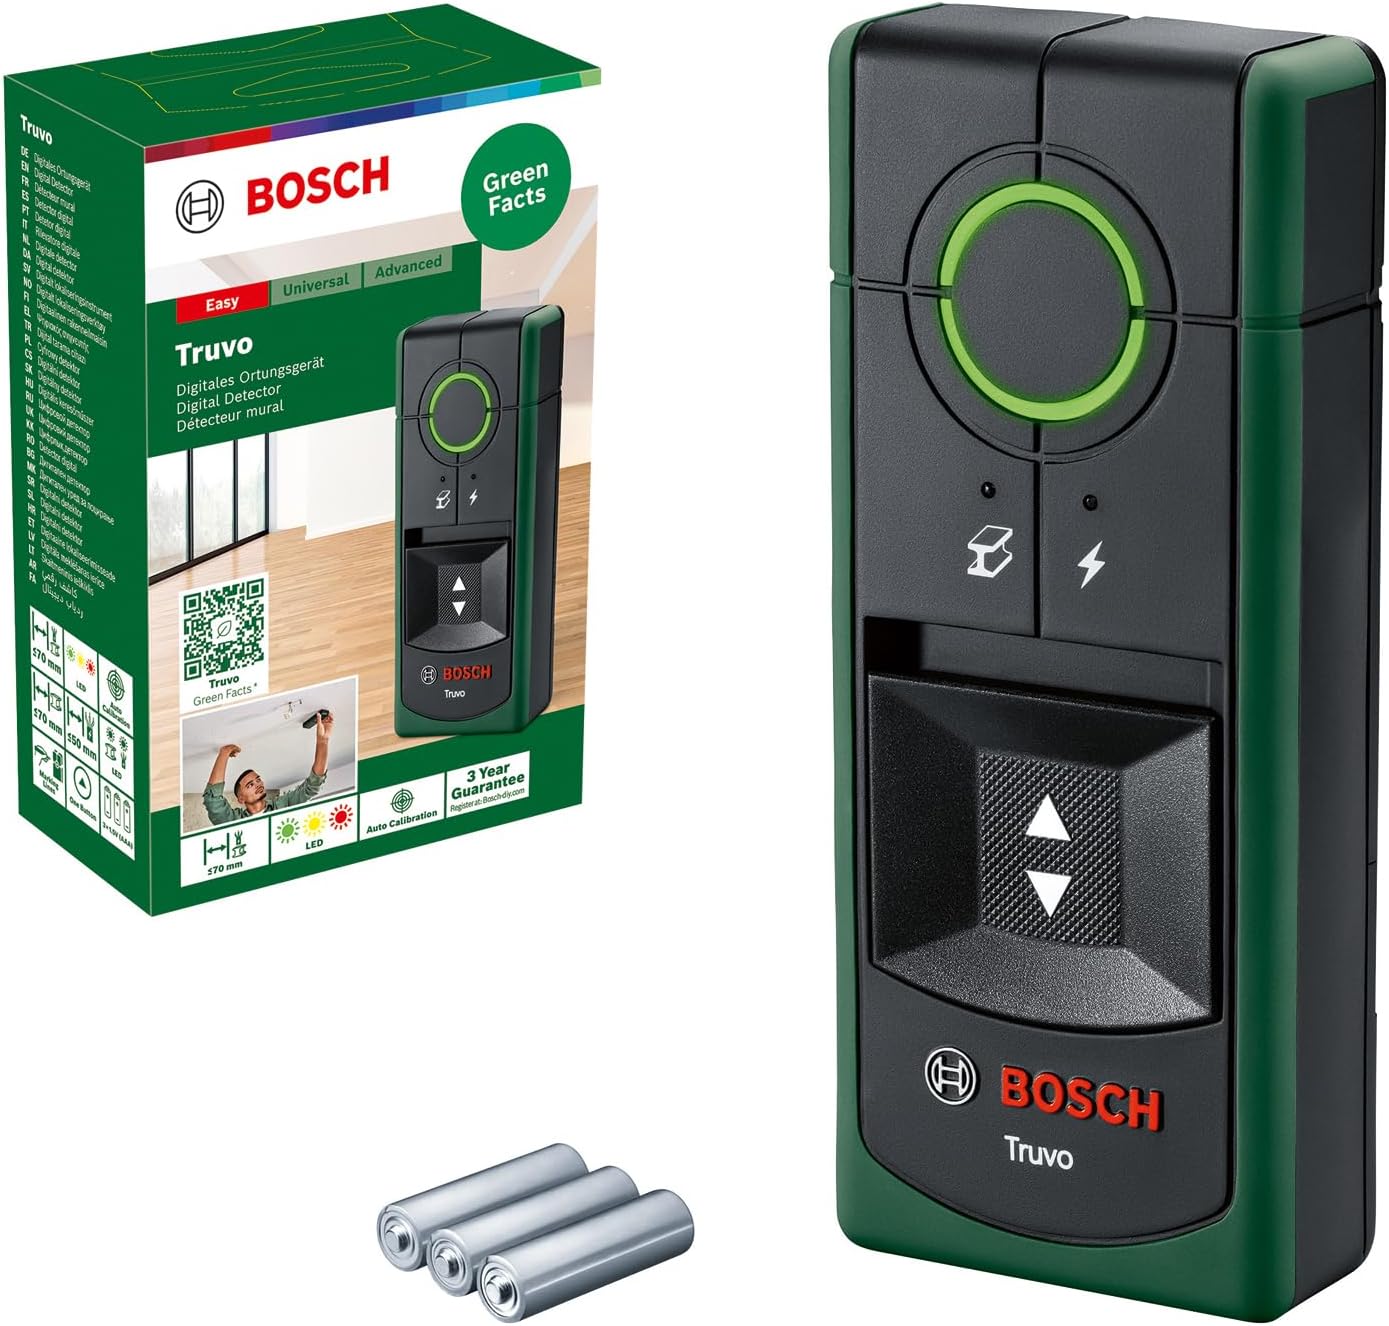
Staying aware of any underground utilities before digging holes
Before digging holes for the wooden posts, ensure that you are aware of any underground utilities, such as water lines or electrical cables. Contact the relevant utility providers or use a utility locator service to mark any hidden infrastructure.
Avoiding installation during inclement weather conditions
Only proceed with the installation of your trellis during favorable weather conditions. Avoid installing in heavy rain, strong winds, or extreme temperatures, as these conditions can compromise the quality of your work and pose safety risks.
By following these safety precautions, you can protect yourself and ensure a smooth and injury-free trellis installation process.
Congratulations! You have completed the ultimate guide to fixing a trellis to wooden posts. You are now equipped with all the knowledge and instructions needed to transform your garden into a stunning and functional space. Whether you choose to grow climbing plants, add decorative elements, or create a vertical garden, your trellis will be a beautiful addition to your outdoor oasis. Enjoy the process and the fruits of your labor as you watch your trellis flourish and enhance the aesthetic appeal of your garden. Happy gardening!


