
Tile onto studs at 600mm centres
is a common challenge faced by both DIY enthusiasts and professional tilers. This comprehensive guide will walk you through the process, ensuring a sturdy and visually appealing result. Whether you’re renovating a bathroom, kitchen, or any other space, mastering this technique is crucial to succesfully tile onto studs.
-
Understanding the Basics
Before diving into the tiling process, it’s essential to understand what we mean by “studs at 600mm centres.” This refers to the spacing between the vertical studs in a wall frame, which is typically 600mm (or approximately 24 inches) apart. This standard spacing is common in many countries, including the UK and Australia.
-
Why Proper Preparation Matters | Tile onto Studs
Tiling directly onto studs at 600mm centres without proper preparation can lead to various issues:
- Tile cracking due to wall movement
- Grout lines splitting
- Tiles becoming loose or falling off
- Moisture penetration leading to mold growth
To avoid these problems, it’s crucial to create a stable, flat surface before tiling. This is where tile backer boards come into play.

-
Choosing the Right Tile Backer Board
Selecting the appropriate tile backer board is critical for the success when you tile onto studs. Here are some popular options:
- Cement boards: Durable and moisture-resistant
- Foam boards: Lightweight and easy to cut
- Fiber cement boards: Strong and ideal for wet areas
- Gypsum boards: Cost-effective but less suitable for wet areas
When choosing a backer board, consider factors such as:
- Moisture resistance
- Weight
- Ease of installation
- Cost
For tiling onto studs at 600mm centres, we recommend using a cement board or fiber cement board for their durability and moisture resistance.
-
Preparing the Stud Wall
Before installing the backer board, ensure your stud wall is properly prepared:
- a) Check for level and plumb: Use a spirit level to ensure your studs are straight and properly aligned.
- b) Reinforce if necessary: If any studs are warped or damaged, replace or reinforce them.
- c) Install noggins: Add horizontal noggins between studs to provide additional support. Place these at approximately 1200mm intervals.
- d) Treat timber: Apply a wood preservative to protect against moisture and rot.
-
Installing the Tile Backer Board
Now that your stud wall is prepared, it’s time to install the backer board:
- a) Measure and cut: Cut your backer board to fit the wall, leaving a 3-4 mm gap at the floor and ceiling for expansion.
- b) Apply adhesive: Use a notched trowel to apply tile adhesive to the studs and noggins.
- c) Position the board: Place the board against the studs, ensuring its level and plumb.
- d) Secure the board: Use screws designed for your specific backer board, spacing them every 300mm along each stud and noggin.
- e) Seal the joints: Apply fiberglass tape over the joints between boards and cover with a layer of tile adhesive.
-
Waterproofing (for Wet Areas)
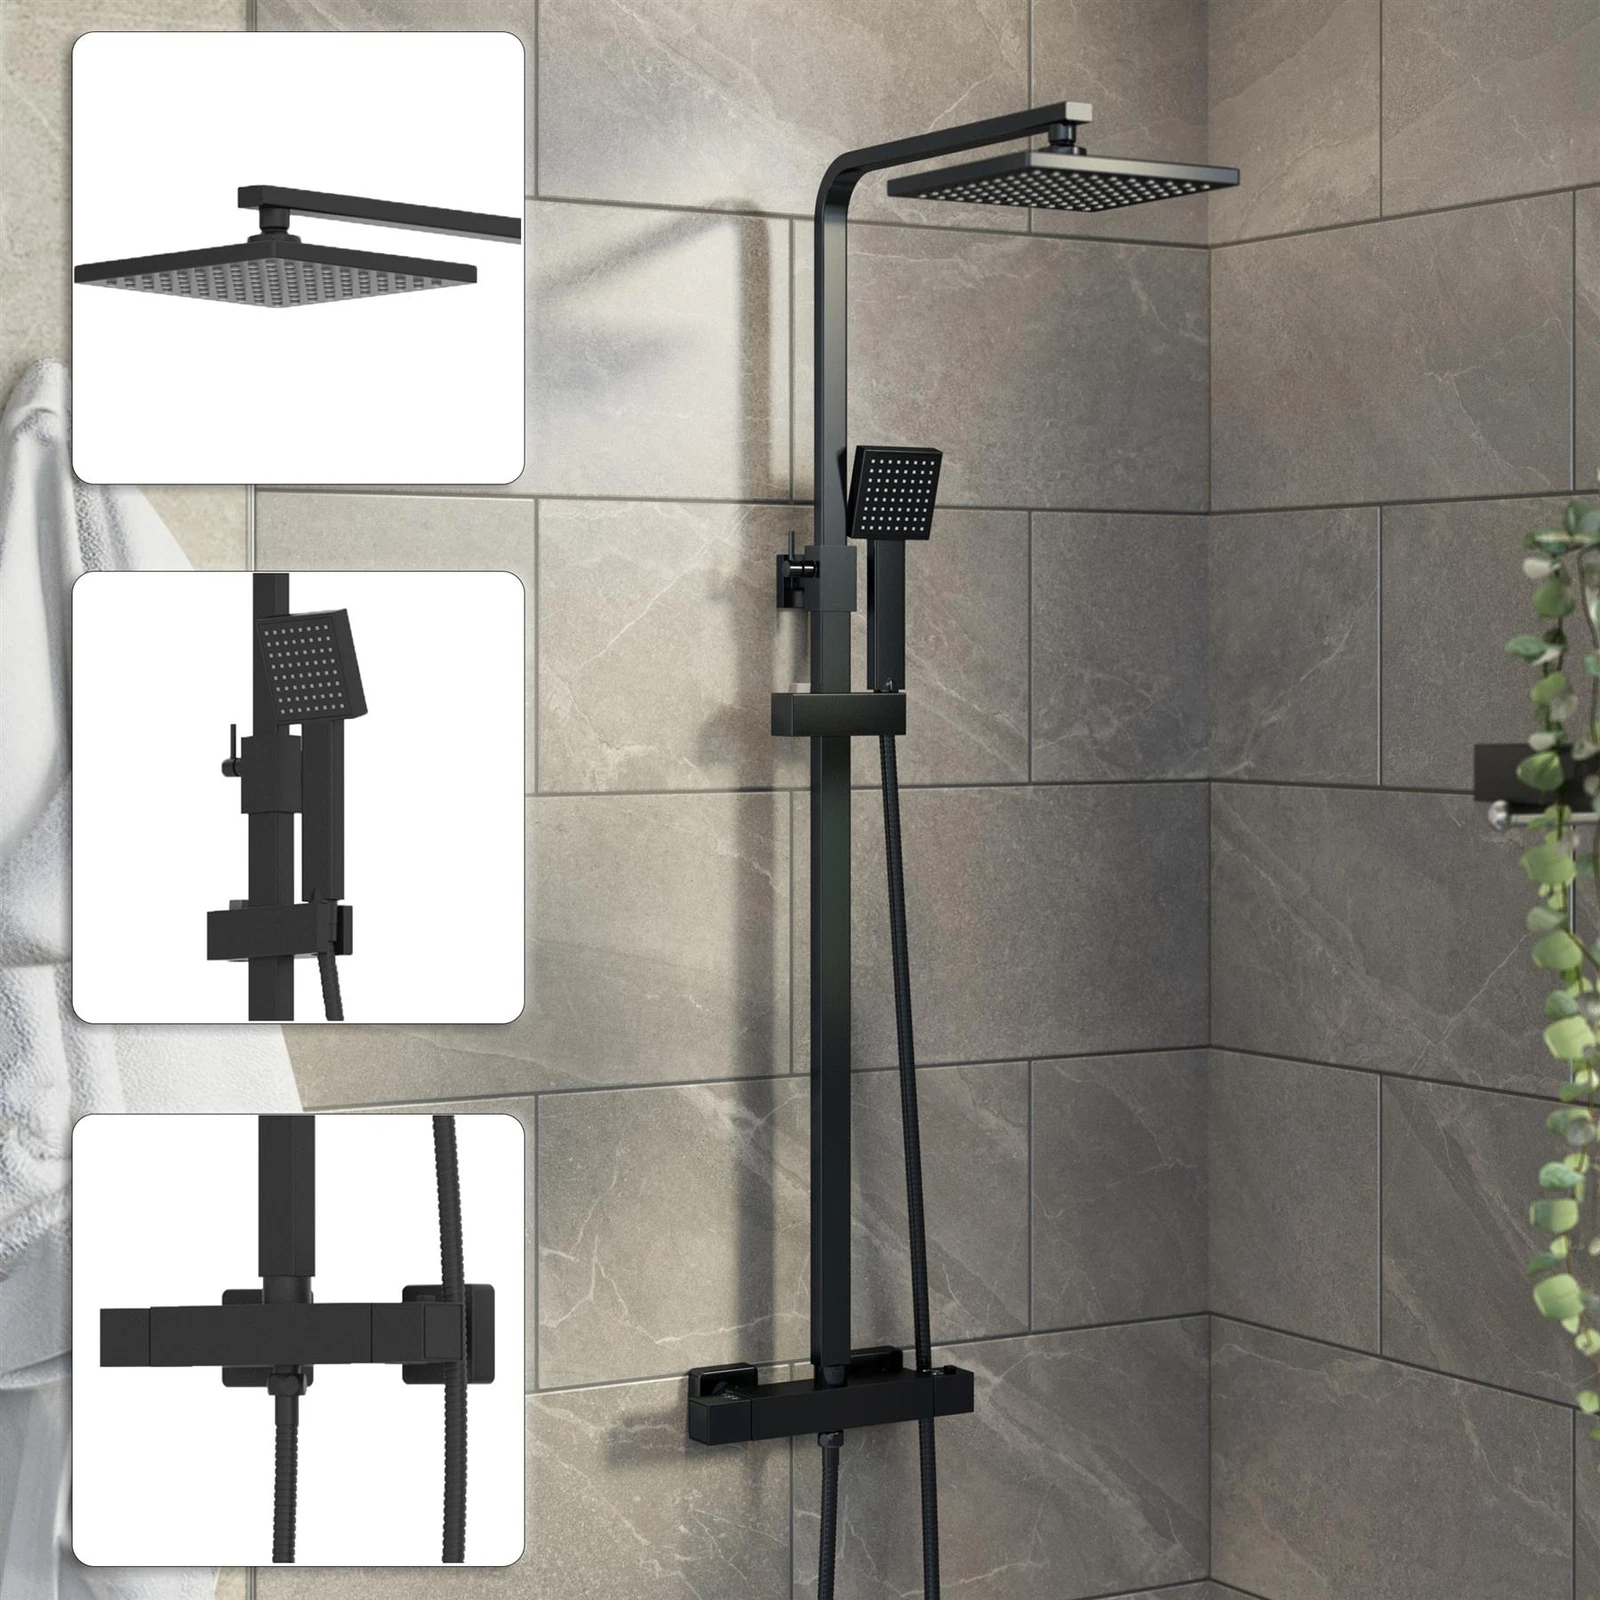
If you tile onto studs in a bathroom bathroom or other wet area, applying a waterproof membrane is crucial:
- a) Clean the surface: Ensure the backer board is clean and dry.
- b) Apply the membrane: Use a roller or brush to apply the waterproof membrane, following the manufacturer’s instructions.
- c) Pay attention to corners and joints: Use waterproof tape or special corner pieces for these areas.
- d) Allow to dry: Let the membrane dry completely before proceeding with tiling.
-
Planning Your Tile Layout
Before you start tiling, plan your layout carefully:
- a) Before you tile onto studs, find the center point: Measure and mark the center of your wall.
- b) Create a layout grid: Use this center point to draw vertical and horizontal lines, creating a grid on the wall.
- c) Do a dry run: Lay out your tiles on the floor to visualize the pattern and identify where cuts will be needed.
- d) Adjust if necessary: Shift your starting point if it results in better-looking cuts around the edges.
-
Tiling Process
Now you’re ready to tile onto studs
- a) Mix the adhesive: Follow the manufacturer’s instructions for mixing your tile adhesive.
- b) Apply the adhesive: Use a notched trowel to apply adhesive to the wall, working in small sections.
- c) Place the tiles: Start from your predetermined starting point, using tile spacers to maintain even gaps.
- d) Cut tiles as needed: Use a tile cutter or wet saw for any necessary cuts.
- e) Check for level: Use a spirit level frequently to ensure your tiles are straight and even.
- f) Allow to set: Let the adhesive set according to the manufacturer’s instructions before grouting.

-
Grouting and Finishing
The final steps in your tiling project:
- a) Mix the grout: Follow the manufacturer’s instructions for mixing your chosen grout.
- b) Apply the grout: Use a rubber float to work the grout into the joints between tiles.
- c) Clean excess: Wipe away excess grout with a damp sponge before it dries.
- d) Seal if necessary: Some types of tiles and grout may require sealing for added protection.

-
Common Challenges and Solutions
When tiling onto studs at 600mm centres, you might encounter some challenges:
- Uneven walls: Use self-leveling compound or additional noggins to create a flat surface.
- Moisture issues: Ensure proper waterproofing and consider using epoxy grout in wet areas.
- Large format tiles: These may require additional support. Consider using a thicker backer board or adding extra noggins.
-
Maintenance and Care
To keep your tiled wall looking great:
- Clean regularly with pH-neutral cleaners
- Avoid harsh chemicals that can damage grout or sealants
- Re-seal grout lines annually if necessary
- Address any loose or cracked tiles promptly to prevent further damage
-
Tools and Materials Checklist
Ensure you have all necessary tools and materials before you tile onto studs.
- Tile backer boards
- Screws and washers
- Tile adhesive and grout
- Tiles and spacers
- Notched trowel
- Spirit level
- Tape measure
- Utility knife
- Drill
- Tile cutter or wet saw
- Rubber float
- Sponges and cloths
- Safety gear (goggles, gloves, dust mask)