Imagine transforming your outdoor space into a stunning oasis with a beautiful paved patio or pathway. But wait, before you get started, have you ever wondered how to lay slabs on sand? Whether you’re a seasoned DIY enthusiast or just starting your outdoor home improvement journey, this article will be your go-to guide for achieving professional-looking results.
With simple and practical tips, you’ll be able to confidently tackle the task when you lay slabs on sand with ease, turning your vision into a reality. So, let’s get started on creating a breathtaking outdoor area that will surely impress your family and friends!

Preparing the Site | Lay Slabs on Sand
Marking the area
Before you begin to lay slabs on sand, it’s important to mark the area where you want your project to be. Use spray paint or string to outline the space and ensure precision during the installation process.
Clearing the site
Once you’ve marked the area, the next step is to clear the site. Remove any debris, rocks, or existing structures that may hinder the installation process. It’s important to have a clean and smooth surface to work with.
Removing sod and vegetation
If there is sod or vegetation present in the area where you plan to lay the slabs, it’s essential to remove it before proceeding. Use a shovel or a sod cutter to carefully remove the top layer of grass or vegetation, ensuring that the site is clear and ready for excavation.
Excavating the area
To ensure a stable base for your slabs, it’s necessary to excavate the area. Dig down to a depth that allows for the thickness of the slab, plus an additional few inches for the base material. Use a shovel, a wheelbarrow, or a mini excavator to excavate the area evenly and create a level surface.
Compacting the ground
Before moving on to the next steps, it’s crucial to compact the ground to create a firm base for your slabs. Use a plate compactor or a hand tamper to flatten the excavated area and remove any air pockets. This will help prevent settling or shifting of the slabs over time.
Choosing the Right Materials
Selecting the slabs
Choosing the right slabs for your project is essential to achieving the desired result. Consider factors such as color, texture, size, and durability when selecting your slabs. Take your time to choose ones that complement the overall design of your space and will withstand the intended use.
Gathering the necessary tools
To ensure a smooth installation process, gather all the necessary tools before starting the project. These may include a shovel, wheelbarrow, measuring tape, mallet, Ox Trade Spririt level, a masonry saw for cutting slabs, and safety equipment such as Donfri Safety gloves and Dewalt Safety goggles. Having all the tools readily available will make the process more efficient and enjoyable.
Acquiring sand
Sand is a crucial component before you lay slabs on sand. It acts as a leveling agent and provides stability to the base. Purchase sand specifically meant for this purpose, such as sharp sand or builder’s sand, from a local hardware store or landscape supplier.
Considering optional extra materials
Depending on your project and personal preference, you may consider using optional extra materials. These may include weed barriers to prevent weed growth, jointing sand for added stability and aesthetics, or even a sealant to protect the slabs from weathering. Consider your specific needs and consult with a professional if needed.
Creating a Solid Base
Determining the thickness
When creating a solid base for your slabs, it’s important to determine the appropriate thickness. This will depend on the intended use of the area and the type of slabs you’ve chosen. Typically, a base thickness of 4-6 inches is recommended, but consulting with a professional can help you determine the ideal thickness for your specific project.
Setting up the edging
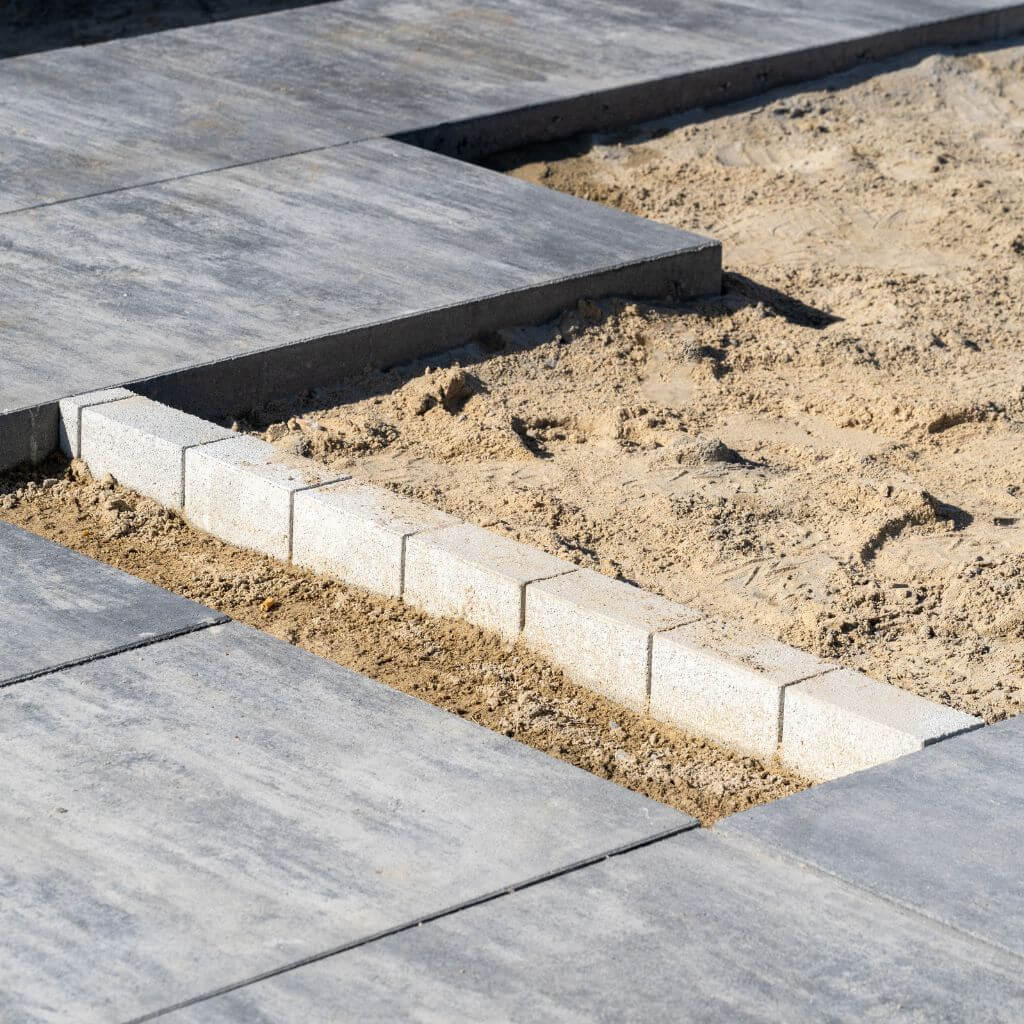
To prevent the slabs from shifting and maintain a clean look, it’s crucial to set up edging. Use materials such as plastic or metal edging to create a boundary around the designated area. Secure the edging firmly to the ground to ensure stability and longevity.
Laying a weed barrier
To minimize weed growth between the slabs, it’s advisable to lay a weed barrier. This can be a geotextile fabric or landscaping fabric that acts as a barrier, preventing weeds from penetrating the surface. Lay the barrier over the excavated area, ensuring it covers the entire space you plan to install the slabs on.
Spreading a layer of sand
Once the base is prepared, it’s time to add a layer of sand. Spread a generous amount of sand evenly over the weed barrier. Using a rake or a flat board, smooth out the sand to create a level surface. This layer of sand will act as a cushion and leveling agent for the slabs.
Laying the Slabs
Starting from a corner
To begin laying the slabs, it’s best to start from a corner or a fixed point. This will help ensure the slabs are aligned properly and create a neat and organized layout. Place the first slab in the corner, pressing it firmly into the sand.
Aligning the slabs
As you continue laying the slabs, it’s crucial to maintain proper alignment. Check the alignment of each slab in relation to the previous one, ensuring they are level and straight. Adjust as needed to create a seamless and visually pleasing layout.
Checking for level
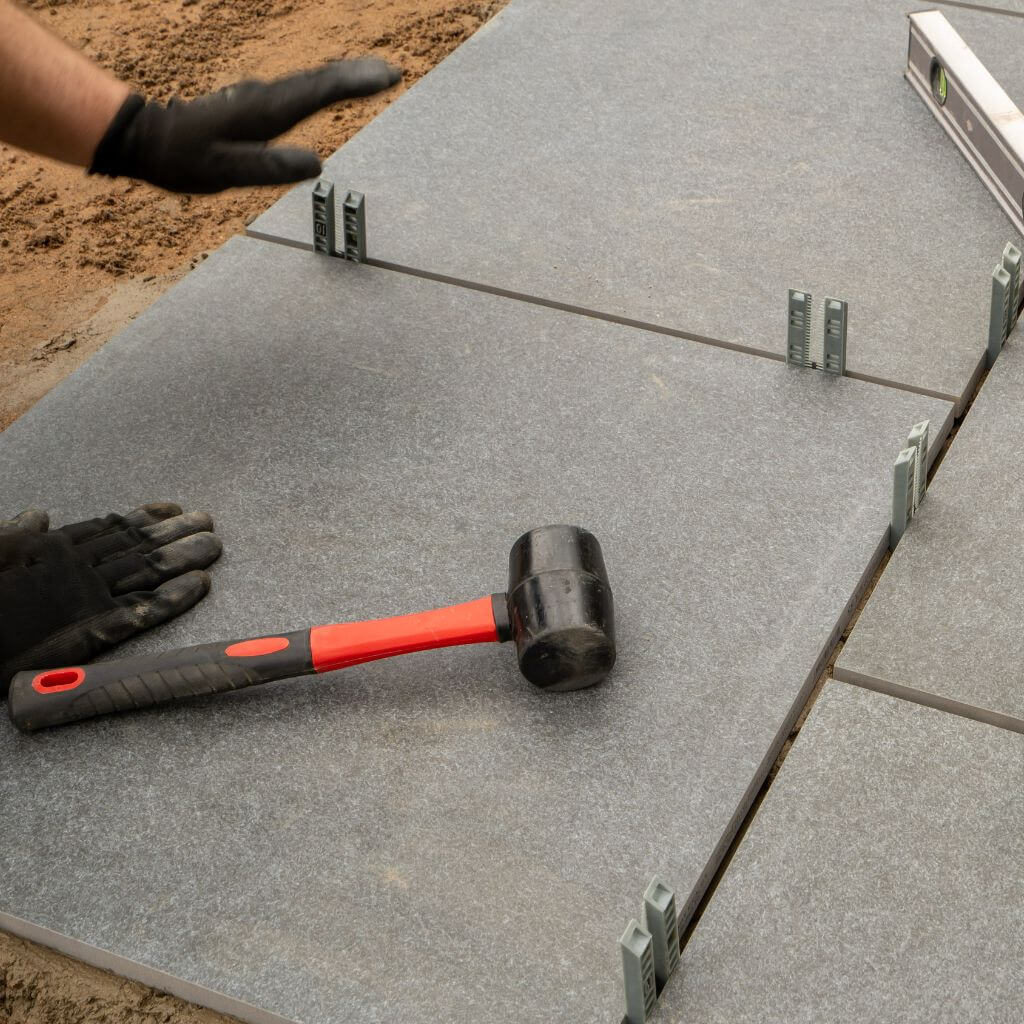
To ensure a level surface, regularly check the slabs for levelness. Use a level or a straight edge to verify that the slabs are at an equal height and that there are no uneven spots. Making necessary adjustments during the installation process will ensure a professional-looking finish.
Tapping the slabs into place
To ensure the slabs are firmly in place, use a mallet or a rubber mallet to tap them into position. This will help set the slabs securely into the bedding sand and prevent any movement or shifting over time. Tap lightly and evenly to avoid damaging the slabs.

Trimming and Filling
Measuring and cutting slabs
In certain cases, you may need to trim the slabs to fit specific areas of your project, such as edges or corners. Take accurate measurements, and use a masonry saw or a specialized slab cutter to make precise cuts. Be cautious and wear appropriate safety equipment when handling cutting tools.
Filling the gaps
After all the slabs are in place, you may notice small gaps between them. Fill these gaps with jointing sand to create a cohesive and stable surface. Spread the sand evenly across the slabs and use a broom or a brush to work it into the gaps, ensuring it is properly packed.
Sweeping off excess sand
Once the gaps are filled, sweep off any excess sand from the surface of the slabs. This will help create a clean and polished appearance. Pay attention to the edges and corners to ensure all excess sand is removed.
Compact and Finish
Using a compactor
To further enhance the stability of the slabs, use a compactor to compact the entire area. Run the compactor over the slabs, moving in overlapping passes to ensure an even compaction. This will help eliminate any air pockets and create a sturdy surface.
Checking for levelness
After compacting, it’s crucial to check the slabs for levelness again. Use a level or a straight edge to verify that the slabs have not shifted during the compaction process. Make any necessary adjustments to maintain a level surface.
Adding more sand if needed
If after compacting, you notice any areas where the slabs have settled or gaps have formed, add more sand to these areas. Spread the sand evenly and compact it again to ensure a solid base and a smooth surface.
Hosing down the slabs
To finish the installation, hose down the slabs with water. This will help settle the sand and ensure proper bonding between the slabs. Use a gentle spray and avoid excessive water pressure, as it may displace the sand or damage the slabs.

Preventing Weed Growth
Using jointing sand
One effective method of preventing weed growth between the slabs is to use jointing sand. After the installation is complete and the slabs are dry, spread jointing sand evenly across the surface. Use a broom or a brush to work the sand into the gaps, filling them completely. This will help deter weed growth and enhance the overall stability of the slabs.
Applying a sealant
For an added layer of protection, consider applying a sealant to the slabs. This will help prevent staining, weathering, and the growth of moss or algae. Choose a sealant specifically designed for outdoor use and follow the manufacturer’s instructions for application. Regularly reapply the sealant as recommended to maintain its effectiveness.
Regular maintenance
To ensure that your slabs remain weed-free, perform regular maintenance. Sweep off any debris or leaves that may accumulate on the surface. Periodically inspect the jointing sand, and if necessary, add more to fill any gaps that may have formed. Taking these small steps will help prolong the lifespan of your slab installation and keep it looking pristine.
Addressing Potential Challenges
Replacing damaged slabs
In the event that a slab becomes damaged or cracked, it’s important to address the issue promptly. Remove the damaged slab, using caution to avoid injury. Replace it with a new slab of the same size and material, ensuring proper alignment and levelness. Make any necessary adjustments to the jointing sand or sealant to maintain consistency.
Dealing with uneven ground
If you encounter uneven ground during the excavation process, it’s crucial to address it before laying the slabs. Use additional base material or sand to level out the uneven areas, ensuring a stable and even surface for the slabs. Taking the time to address any unevenness will ensure a long-lasting and visually pleasing installation.
Adjusting for water drainage
To avoid water pooling on the surface, it’s important to consider the water drainage in your slab installation. Ensure that the surface is slightly sloped away from any structures to allow water to flow freely. Make any necessary adjustments during the excavation or base preparation process to avoid potential water-related issues in the future.
Considering Design Factors
Choosing a slab pattern
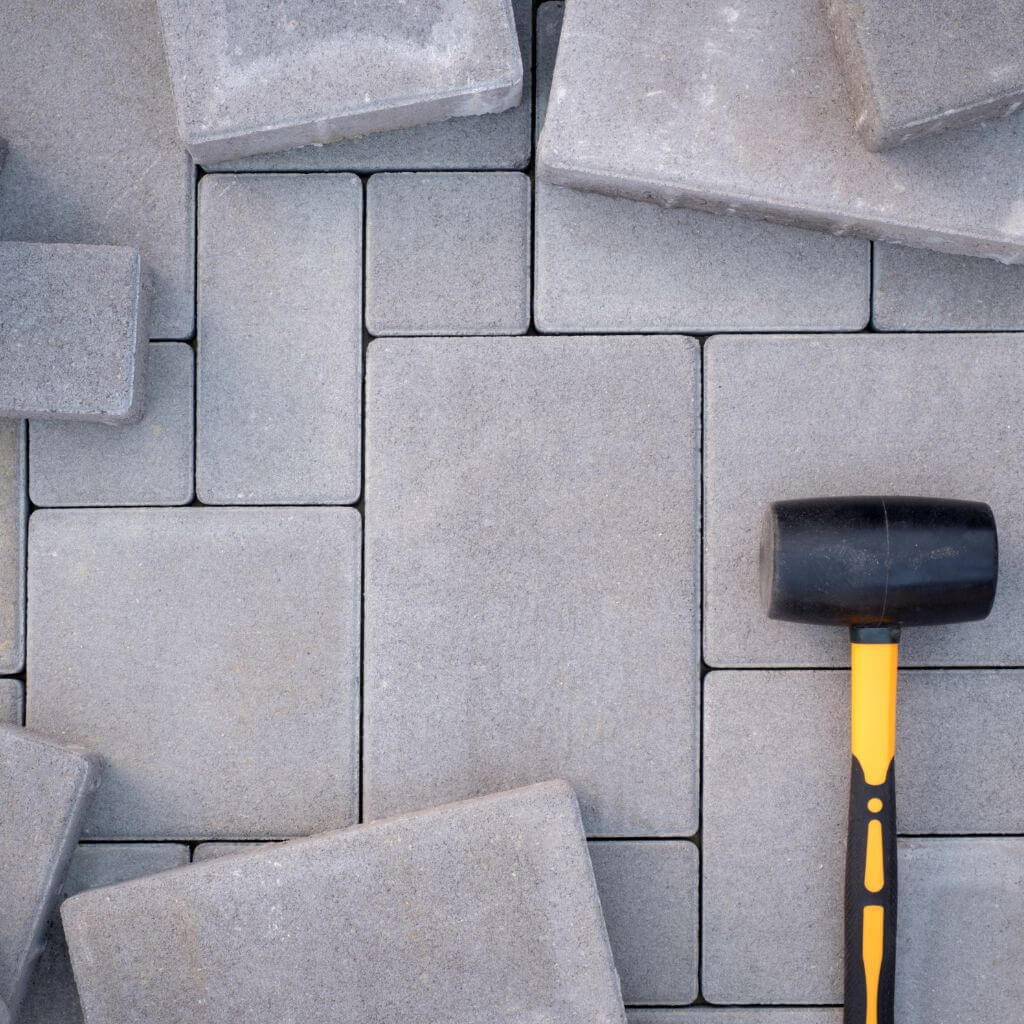
The pattern of the slabs can greatly impact the overall aesthetic of the space. Choose a pattern that suits your personal style and complements the design of your outdoor area. There are various patterns to choose from, ranging from traditional to more contemporary styles. Take your time to consider the options and select a pattern that will enhance your desired look.
Incorporating different slab sizes
To add visual interest and dimension to your slab installation, consider incorporating different sizes of slabs. This can create a unique and eye-catching design, especially for larger areas. Experiment with various sizes and layouts to find a combination that is visually appealing and suits your design preferences.
Adding decorative elements
To further enhance the visual appeal of your slab installation, consider adding decorative elements. These may include accent tiles, borders, or contrasting colored slabs. Incorporating these elements strategically can elevate the overall design and create a personalized touch in your outdoor space.
Ensuring Safety
Wearing protective gear
Throughout the installation process, it’s essential to prioritize safety. Wear appropriate protective gear, such as gloves, goggles, and sturdy footwear, to protect yourself from potential injuries. Handling tools and heavy materials requires caution and proper protection to ensure a safe and enjoyable experience.
Working with a partner
Some steps in the installation process may require assistance, especially when handling heavy slabs or compacting the base. Working with a partner can not only make the job easier but also increase safety. Having someone to help distribute weight and assist in challenging tasks can prevent injuries and ensure a smoother installation process.
Avoiding overexertion
When you lay slabs on sand it can be physically demanding, so it’s important to avoid overexertion. Take breaks when needed, stay hydrated, and listen to your body. Pacing yourself and being mindful of your physical limitations will help prevent injuries and maintain a positive experience throughout the project.
By following these step-by-step instructions and considering the various factors involved, you can successfully lay slabs on sand. Remember to have fun and enjoy the process of transforming your outdoor space into a beautiful and functional area for relaxation and enjoyment. Happy slab laying!


